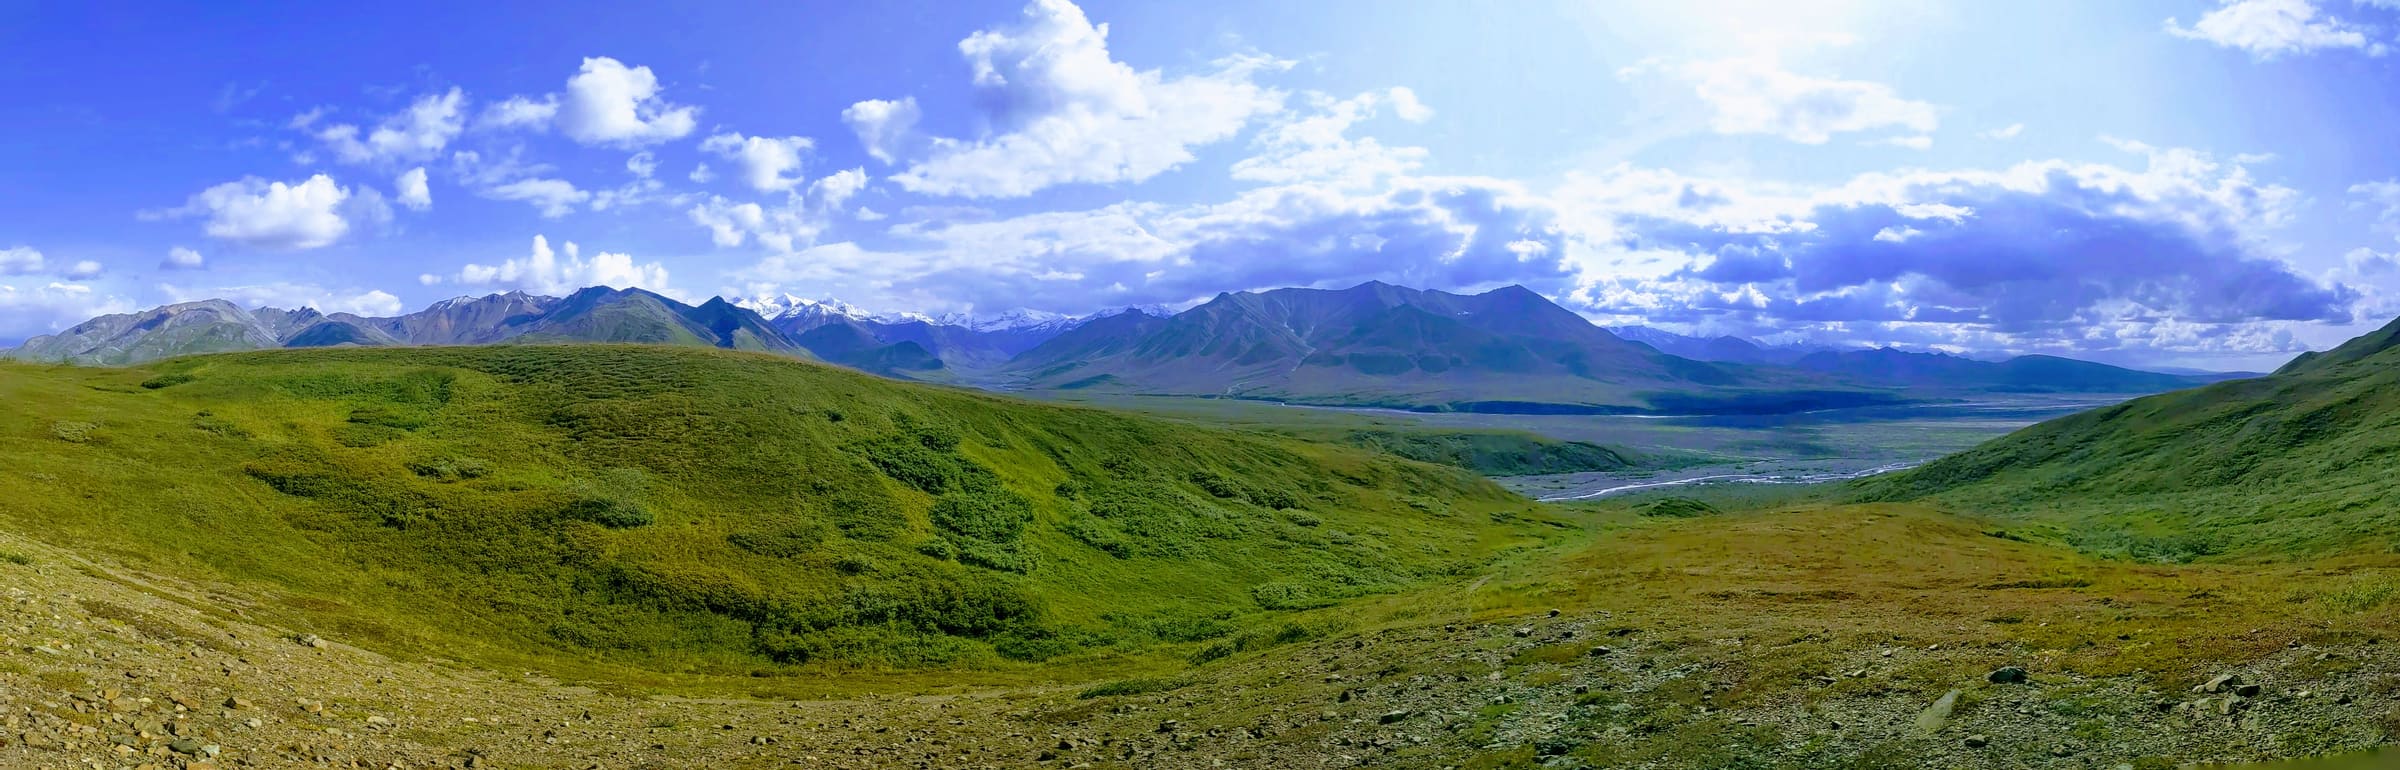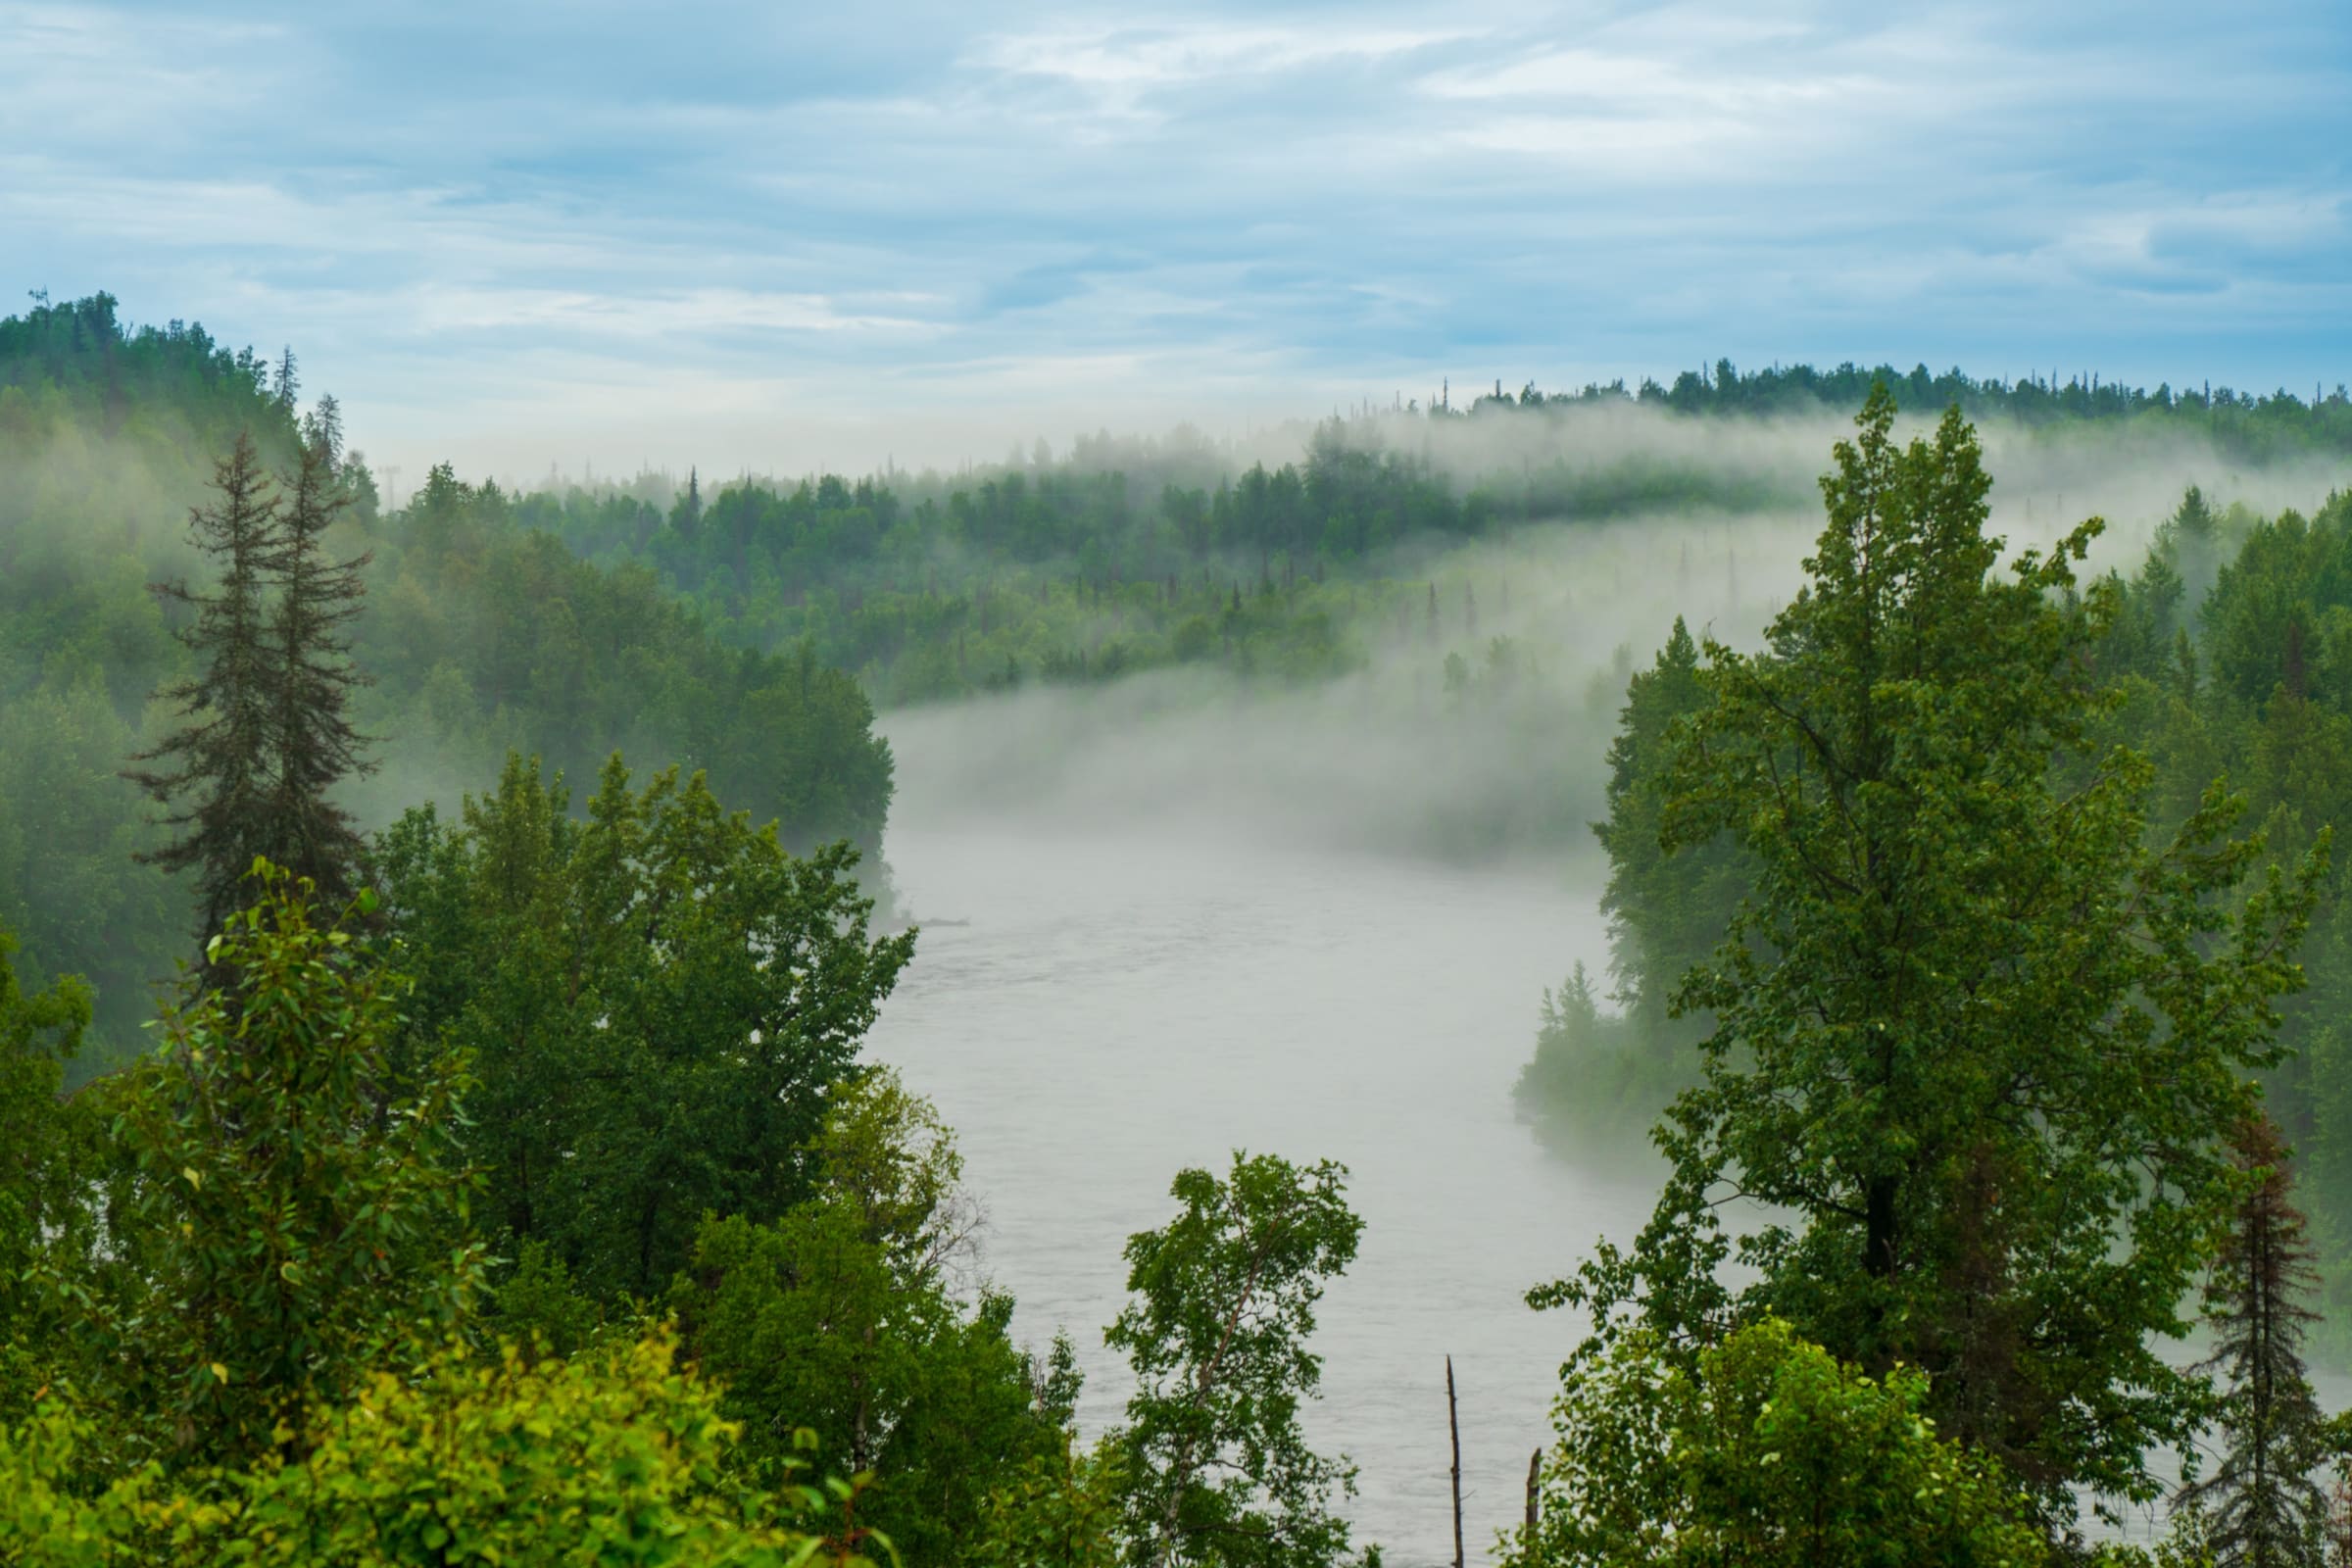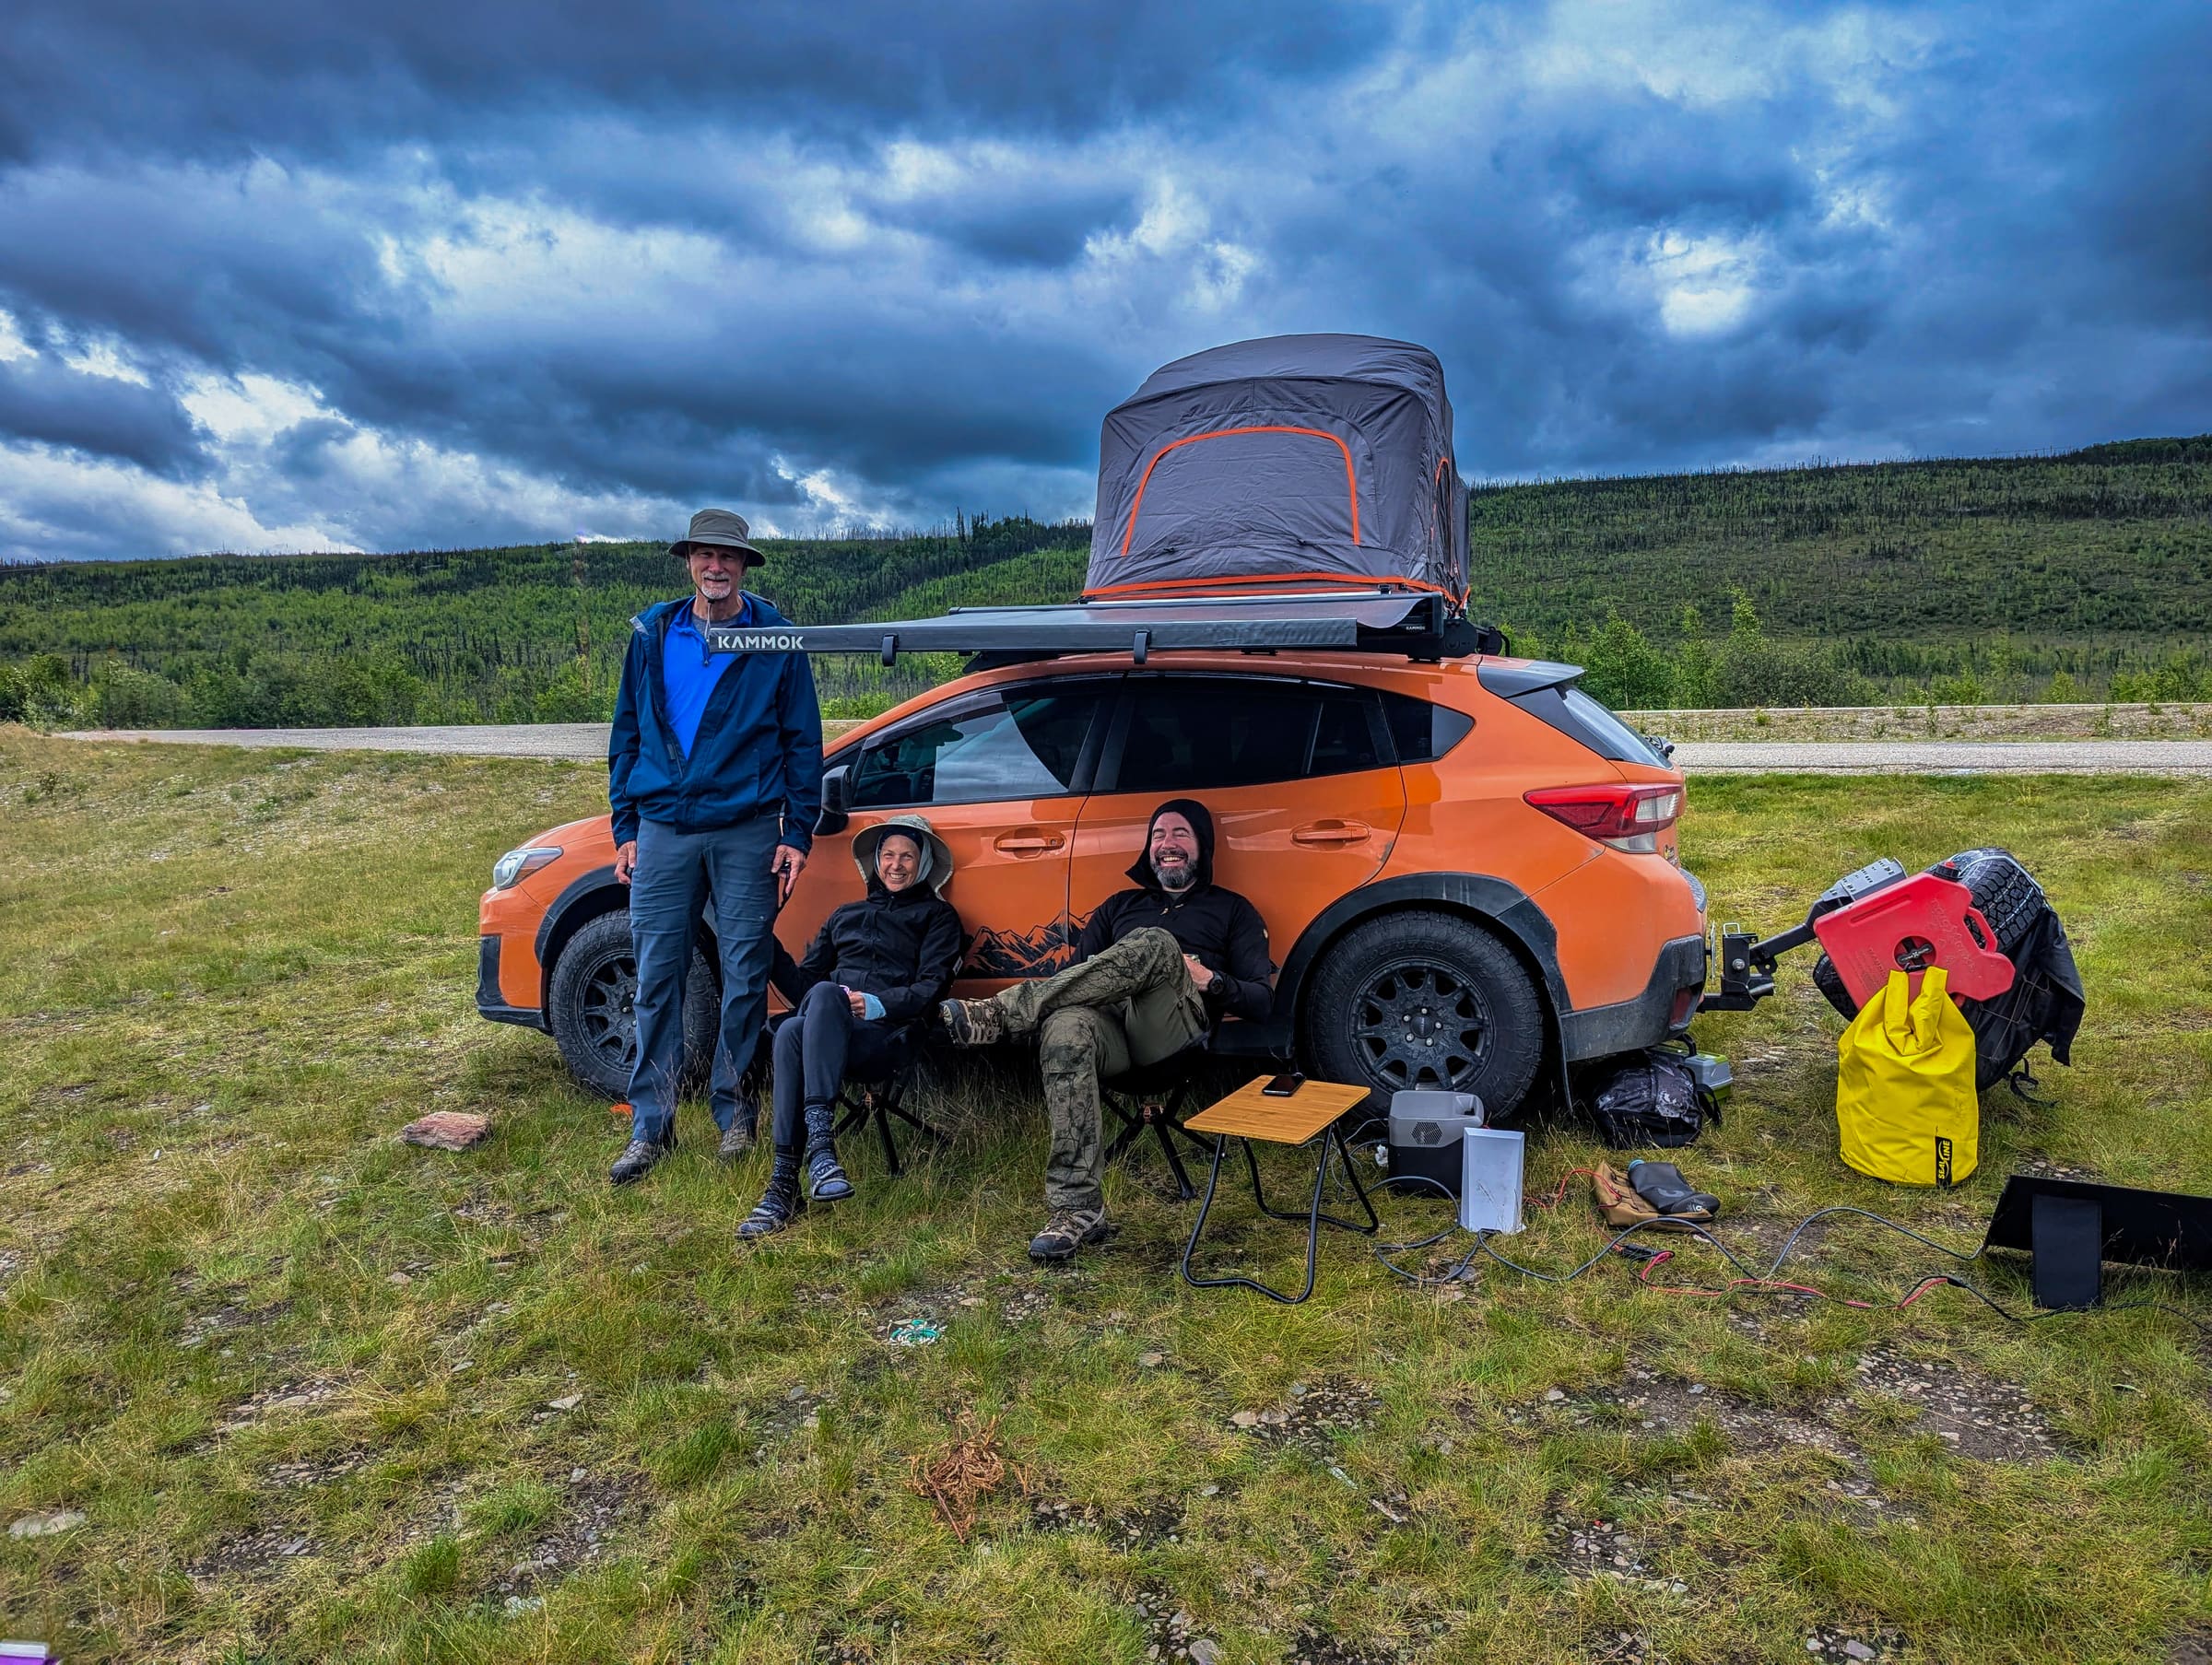
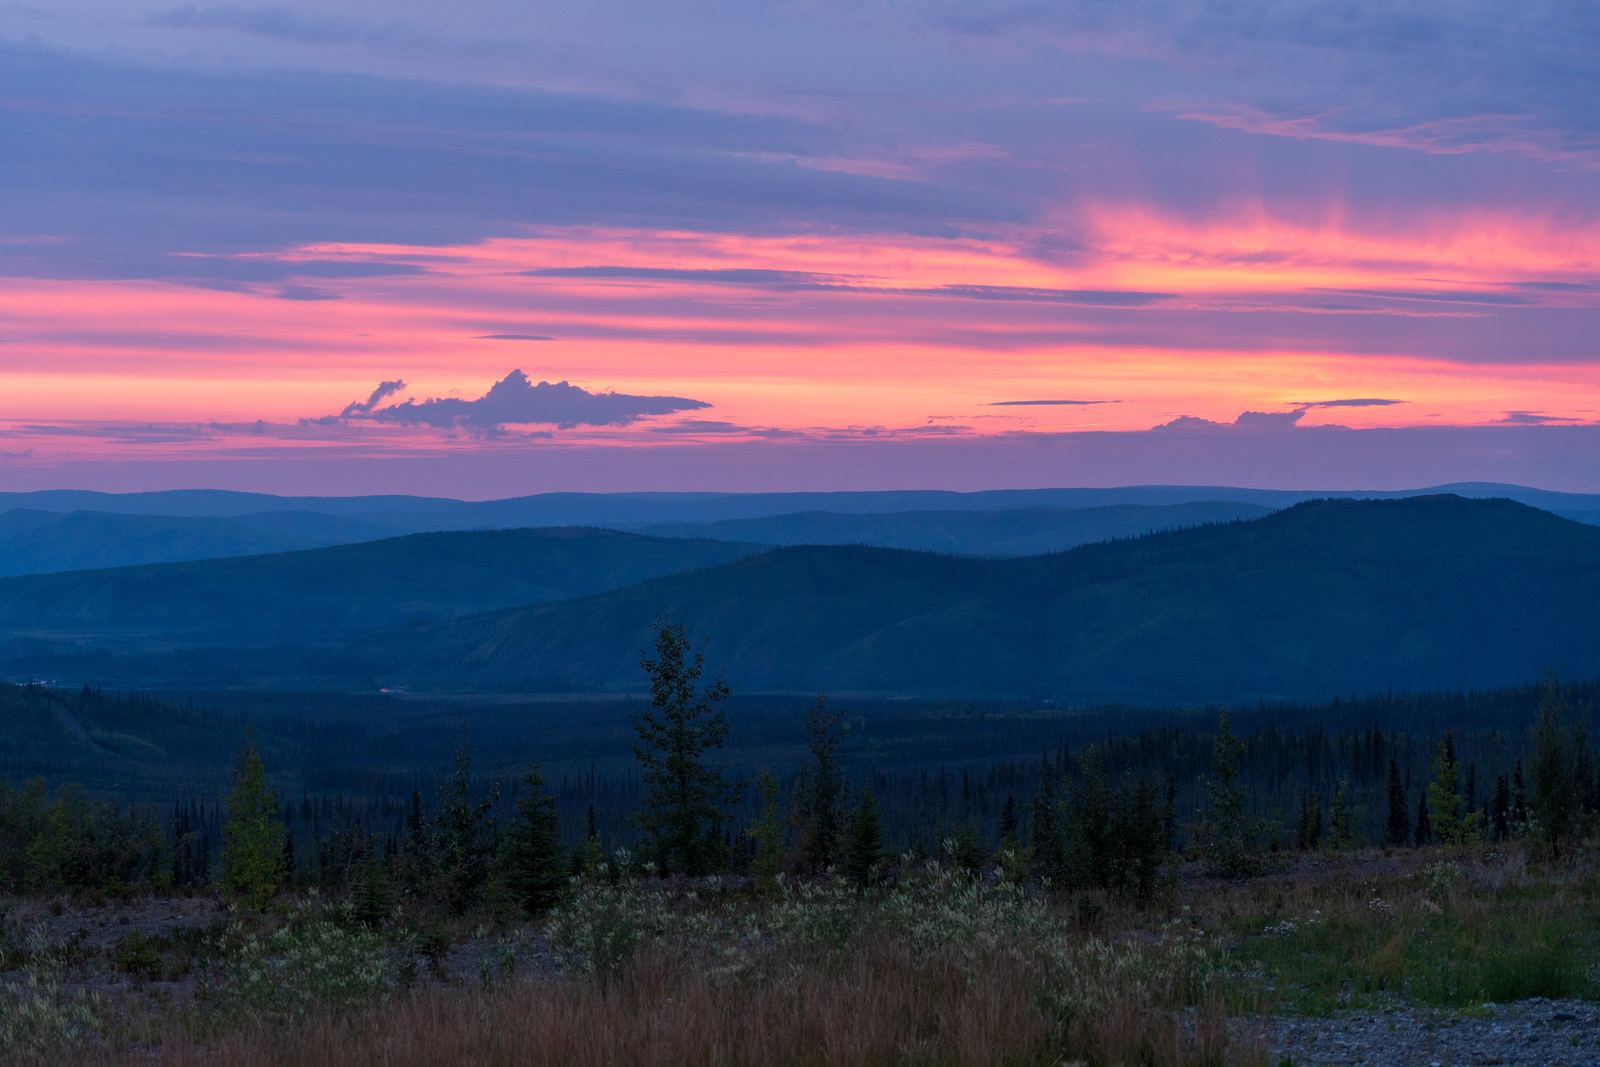
Introduction: The Land of the Prolonged Golden Hour
Few places on Earth capture the imagination of a photographer quite like Alaska. When the snow melts and the subarctic landscape bursts into vibrant shades of green, magenta, and gold, the state transforms into an endless playground of light. If you are planning an adventure during the peak of Alaska in summer, you are in for an unparalleled visual treat. This comprehensive alaska summer photography guide is designed to help you navigate the unique challenges and extraordinary opportunities of shooting under the Midnight Sun.
In Alaska, the typical rules of photography are rewritten. The standard "golden hour"—that fleeting window of soft, warm light just after sunrise or before sunset—does not last for a mere forty minutes. Instead, during the height of summer, it can stretch for hours, casting a warm, low-angle glow across massive glaciers, jagged peaks, and pristine valleys. However, capturing this magic requires more than just pointing and shooting. It demands an understanding of subarctic light, specialized gear considerations, strict safety protocols, and a willingness to adjust your sleep schedule to match the rhythm of the wild. Whether you are a seasoned professional with a bag full of prime lenses or an enthusiastic amateur armed with a high-end smartphone, this guide will provide the technical depth and practical insights needed to capture Alaska's raw beauty in 2026.
Understanding the Midnight Sun: The Physics of Subarctic Light
To make the most of your photographic journey, you must first understand the mechanics of the Midnight Sun. Because of the Earth's axial tilt, regions near and above the Arctic Circle experience continuous daylight around the summer solstice. Even in Southcentral Alaska—including Anchorage, the Kenai Peninsula, and Denali National Park—the sun dips only slightly below the horizon, resulting in up to 19 to 22 hours of functional daylight. During the late evening and early morning hours, the sun's angle above the horizon remains incredibly low. Instead of rising high overhead, the sun skims along the horizon, creating long, dramatic shadows that define the texture of mountain ridges and highlight the contours of the landscape.
This prolonged low angle means you can shoot high-quality landscape photos at 11:00 PM, 1:00 AM, or 3:00 AM. The light transitions slowly from a warm, amber golden hour into a cool, ethereal "blue hour" that can last for hours. This extended twilight offers a massive advantage: you do not have to rush your compositions. You have the luxury of time to experiment with different angles, swap lenses, and wait for the perfect cloud formation to drift over a peak. However, the caveat is that the sky rarely gets dark enough to capture the Northern Lights during the peak summer months; for astrophotography, you would need to wait until the darker skies of late August or September return.
Essential Gear for Alaska Summer Photography
Alaska's rugged terrain and unpredictable weather demand a thoughtful approach to your camera kit. Packing too much gear can slow you down on hikes, while leaving essential items behind can result in missed shots. When preparing your Alaska road trip packing list, consider the following gear recommendations tailored specifically for summer photography:
1. Camera Bodies and Sensor Considerations
While modern smartphones are capable of capturing stunning images, a dedicated mirrorless or DSLR camera with a high-dynamic-range (HDR) sensor is highly recommended. The contrast between bright, reflective glacial ice and dark, volcanic rock or deep green forests can easily blow out highlights or muddy the shadows. Cameras with high dynamic range and excellent exposure latitude allow you to recover shadow details in post-processing without introducing excessive noise, which is crucial for balancing bright glaciers and dark landscapes. Ensure your camera has robust weather sealing, as summer in Alaska can bring sudden rain showers, glacial mist, and blowing dust.
2. Lens Selection: From Wide-Angle to Super-Telephoto
- Ultra-Wide Zoom (16-35mm f/2.8 or f/4): Essential for capturing the immense scale of Alaska's landscapes, sweeping valleys, and towering mountain ranges. A wide lens allows you to include compelling foreground elements, such as fields of wild fireweed, to lead the viewer's eye into the frame.
- Standard Zoom (24-70mm f/2.8 or f/4): Your workhorse lens for everyday shooting, environmental portraits, and mid-range landscape compositions.
- Telephoto Zoom (100-400mm or 150-600mm): Absolutely non-negotiable for wildlife photography. Alaskan wildlife must be photographed from a safe, respectful distance. A high-quality telephoto lens allows you to fill the frame with a grizzly bear or a bald eagle without encroaching on their space or putting yourself in danger.
3. Filters: The Photographer's Secret Weapons
Do not underestimate the power of high-quality optical filters. A Circular Polarizer (CPL) is indispensable; it cuts through the glare on wet foliage, reduces reflections on glacial lakes, and deepens the blue of the sky while making white clouds pop. Additionally, a Graduated Neutral Density (GND) filter helps balance the exposure between a bright sky and a dark foreground, which is particularly useful during the high-contrast hours of the subarctic day. If you want to capture silky-smooth waterfalls or motion blur in glacial rivers, pack a 3-stop or 6-stop Neutral Density (ND) filter to slow down your shutter speed even in bright daylight.
4. Support and Power Management
A sturdy, lightweight carbon-fiber tripod is essential for sharp images, especially when shooting long exposures during the late-night blue hour or using heavy telephoto lenses. Look for a tripod that can handle wind, as coastal areas and mountain passes can experience sudden, strong gusts. Furthermore, bring at least three to four camera batteries. Even though summer temperatures are mild, long days of shooting and constant use of live view or electronic viewfinders will drain your power quickly. Keep a portable power bank in your daypack to charge batteries on the go.
Mastering Landscape Photography in the Subarctic
Alaska's landscapes are defined by scale, texture, and water. To capture these elements effectively, you must adapt your composition and exposure techniques to the unique environment.
Capturing Glaciers and the "Glacial Blue"
One of the most striking features of the Alaskan landscape is its glaciers. The dense, highly compressed ice of a glacier absorbs all colors of the light spectrum except blue, which it reflects back to our eyes. According to the United States Geological Survey (USGS), glacial water often looks bright blue due to the high amount of suspended glacial flour (fine-grained glacial sediment). To capture this vibrant turquoise color in your photos, use a circular polarizer to eliminate surface glare on the water and ice. Be careful not to overexpose the ice; dial in negative exposure compensation (usually -0.3 to -1.0 EV) to preserve the delicate textures and deep crevasses of the glacier.
Composition and Scale
Because the mountains in Alaska are so massive, they can easily look flat and small in a wide-angle photograph if you lack a sense of scale. To combat this, always look for a compelling foreground element. This could be a rustic wooden cabin, a winding gravel road, a field of blooming lupine, or even a fellow traveler looking out over the vista. If you are driving along the coast, refer to our detailed Seward Highway guide for specific pullouts, such as Beluga Point or Bird Point, where you can frame the dramatic tides of Turnagain Arm against the sheer cliffs of the Chugach Mountains.
Exposure Bracketing
When shooting landscapes that feature both dark, forested valleys and bright, snow-capped peaks, your camera's sensor may struggle to capture the entire dynamic range in a single exposure. Use your camera's automatic exposure bracketing (AEB) feature to take three to five shots at different exposures (e.g., -2, 0, +2 EV). You can later merge these files into a single HDR image using editing software like Lightroom or Photoshop, ensuring that both the shadow details in the trees and the highlight details in the snow are perfectly preserved.
Wildlife Photography: Capturing Alaska's Fauna Safely and Ethically
Photographing Alaska's wildlife is a bucket-list experience, but it comes with immense responsibility. According to ethical wildlife viewing guidelines from the National Park Service (NPS), the safety of the animal and the photographer must always take priority over getting the shot.
The Golden Rules of Wildlife Safety
Before you step out of your vehicle with your camera, you must familiarize yourself with local regulations and safety guidelines. The National Park Service (NPS) mandates maintaining a safe distance of at least 25 yards (75 feet) from large mammals like moose, elk, and deer, and at least 100 yards (300 feet) from predators such as bears and wolves. Always practice strict wildlife safety in Alaska. According to the Alaska Department of Fish and Game (ADF&G), maintaining a safe distance and never feeding wild animals is crucial for preventing dangerous human-wildlife conflicts. Never approach an animal, block its path, or attempt to influence its behavior with food or calls. If an animal changes its behavior because of your presence—such as stopping feeding, raising its ears, or looking directly at you for an extended period—you are too close and must slowly back away.
Camera Settings for Wildlife
Wildlife is unpredictable and fast-moving. To ensure sharp images, use the following baseline settings:
- Shutter Speed: Keep your shutter speed high. For stationary animals, 1/500s is usually sufficient. For moving animals, aim for 1/1000s, and for birds in flight or active predators (like a brown bear catching salmon), use 1/2000s or faster.
- Aperture: Use a wide aperture (such as f/4 or f/5.6) to isolate your subject from a busy background of brush or trees, creating a pleasing bokeh that makes the animal stand out.
- Autofocus Mode: Set your camera to continuous autofocus (AF-C or AI Servo). If your camera features animal eye-detection autofocus, enable it; this technology is incredibly effective at locking focus on the eyes of bears, moose, and birds.
- Drive Mode: Use high-speed continuous shooting (burst mode) to capture the peak action of a moving animal.
Ethical Considerations and Patience
The best wildlife photos tell a story about the animal in its natural habitat. Instead of zooming in so close that the animal fills the entire frame, try taking environmental portraits that include the surrounding landscape—such as a moose wading through a misty lake surrounded by spruce trees. Be patient; some of the best shots require sitting quietly in a designated viewing area for hours, waiting for the wildlife to naturally move into the light.
Logistics and Planning Your Photography Route
To maximize your photographic opportunities, you need a flexible itinerary that allows you to chase the light. When you plan your trip, build in extra time for spontaneous stops. The weather in Alaska is notoriously volatile; a mountain that is completely shrouded in thick fog in the morning might clear up to reveal a spectacular sunset at midnight.
Consider structuring your road trip around key photographic hubs. For example, a route that takes you from Anchorage down the Kenai Peninsula offers a diverse mix of coastal vistas, glacial lakes, and marine wildlife. Alternatively, driving north toward Denali and the interior provides sweeping tundra views and opportunities to photograph North America's tallest peak. Because the best light occurs late at night, you may want to adjust your daily schedule: sleep during the harsh midday hours when the light is flat, and do your driving and shooting during the late afternoon, evening, and early morning hours. This "inverted" schedule also has the added benefit of helping you avoid the crowds at popular viewpoints and trailheads.
Overcoming Common Challenges of Summer Photography
While shooting in Alaska during the summer is incredibly rewarding, it does present several unique challenges that can frustrate unprepared photographers:
1. Sleep Deprivation
The constant daylight can disrupt your circadian rhythm, making it difficult to sleep. Your brain may tell you to keep shooting at 2:00 AM because it still looks like afternoon. To combat this, book lodging that offers high-quality blackout curtains, or pack a comfortable, light-blocking eye mask. Force yourself to rest, as physical fatigue can lead to careless mistakes with your camera gear or, worse, unsafe driving on winding mountain roads.
2. Harsh Midday Light and Haze
Even though the golden hour is long, the sun still reaches a relatively high point during the middle of the day, which can create harsh shadows and flat, uninspiring light. Additionally, summer wildfires in the interior can sometimes create a smoky haze that reduces visibility. Use the midday hours for scouting locations, resting, downloading your memory cards, or shooting in dense forests where the canopy diffuses the harsh light and creates beautiful, moody scenes.
3. Mosquitoes and Biting Insects
Alaska's summer is famous for its massive mosquito populations, particularly in forested areas and near standing water. A swarm of mosquitoes can make it impossible to stand still for a long exposure or focus on a delicate composition. Pack high-quality insect repellent (DEET or Picaridin), wear tightly woven long-sleeve clothing, and consider a lightweight head net. When changing lenses, do so quickly and face down to prevent insects or dust from entering your camera body and landing on your sensor.
Frequently Asked Questions
What is the best month for photography in Alaska?
The best month depends on your specific photographic goals. June offers the longest daylight hours, vibrant green foliage, and blooming wildflowers like lupine. July is peak season for salmon runs, which attracts brown bears to rivers for spectacular wildlife viewing. August brings early fall colors to the tundra, active wildlife preparing for winter, and the gradual return of dark night skies, which may allow you to capture both the Northern Lights and late-summer landscapes.
Do I need a tripod for midnight sun photography?
Yes, a tripod is highly recommended. While there is plenty of light during the day, shooting during the late-night golden hour and blue hour (between 10:00 PM and 2:00 AM) often requires slower shutter speeds, especially if you want to keep your ISO low to maximize image quality. A tripod is also essential for using heavy telephoto lenses for wildlife or capturing long-exposure water movement.
How do I protect my camera gear from moisture and dust?
It is highly recommended to carry a high-quality, weather-resistant camera bag to protect your gear from sudden coastal showers and glacial mist. Pack several microfiber cloths, a blower brush, and a dedicated rain cover for your camera and lens. If you are shooting near saltwater or glacial silt, wipe down your gear with a damp cloth at the end of the day to prevent corrosive salt or abrasive dust from damaging the seals and moving parts of your lenses.
Can I use a drone for photography in Alaska?
Drone regulations in Alaska are strict. According to the National Park Service (NPS), recreational drone use is prohibited within all national park boundaries, meaning drone pilots must always check local regulations, respect wildlife, and fly safely and legally in designated airspace.
Conclusion: Capture Your Alaskan Adventure
An Alaskan summer road trip is a transformative experience for any photographer. The combination of endless daylight, dramatic landscapes, and abundant wildlife provides a canvas unlike any other in the world. By understanding the unique qualities of subarctic light, packing the right gear, prioritizing safety, and planning a flexible route, you will return home with a portfolio of stunning images that truly capture the spirit of the Last Frontier. Ready to embark on your ultimate photographic journey? Explore our professionally curated itineraries at Alaska Road Trip to start planning your dream adventure today.
See a real Alaska itinerary before you spend a dollar
A real 3-day plan with driving times, lodging picks, and a daylight chart — free, in your inbox.
One email. No spam. Unsubscribe anytime. Or view it right now — no email needed ↗
Ready for the full plan? Get your custom itinerary — from $197 · 5-day delivery →