Alaska in summer is a paradise of endless light, dramatic landscapes, and active wildlife. For photographers, this unique environment offers unparalleled opportunities, but it also presents distinct challenges. Whether you are a seasoned professional or an enthusiastic hobbyist, navigating the near 24-hour daylight often requires a shift in how you plan, shoot, and protect your gear. This alaska summer photography guide is designed to help you master the nuances of the Midnight Sun, capture stunning landscapes, and photograph majestic wildlife safely.
When planning a trip to Alaska in summer, you quickly realize that the traditional rules of photography do not always apply. Instead of a fleeting golden hour, you are often treated to hours of warm, low-angle light that paints the mountains in shades of gold, pink, and purple. Let's dive deep into how you can make the most of this extraordinary photographic playground.
The Science and Magic of the Midnight Sun
To truly capture the essence of the Last Frontier, it helps to understand the light. Because of the Earth's axial tilt, regions north of the Arctic Circle experience continuous daylight during the summer solstice, while southern regions like the Kenai Peninsula still enjoy up to 19 or 20 hours of functional daylight. According to the National Weather Service, this phenomenon creates extended periods of civil twilight, where the sun dips just below the horizon, casting a soft, ethereal glow across the landscape for hours.
This prolonged golden hour means you do not have to rush your compositions. In the lower 48 states, photographers often scramble to set up their tripods as the sun rapidly sinks. In Alaska, you can spend hours fine-tuning your framing, experimenting with different exposures, and waiting for the perfect moment when a moose steps into a glassy pond. However, this endless light can also lead to flat, harsh lighting during the middle of the day. To counter this, this alaska summer photography guide recommends shifting your shooting schedule to the "night" hours—often between 10:00 PM and 3:00 AM—when the sun is lowest and the shadows are longest and most dramatic.
Essential Gear for Your Alaska Photography Expedition
Having the right equipment is crucial when embarking on an Alaskan adventure. The rugged terrain and unpredictable weather demand gear that is both versatile and durable. When reviewing your Alaska road trip packing list, ensure you have the following photography essentials packed and ready:
Camera Bodies and Lenses
A weather-sealed camera body is highly recommended, as summer in Alaska can bring sudden rain showers, glacial dust, and coastal mist. For lenses, a three-lens system is often considered ideal:
- Wide-Angle Zoom (e.g., 16-35mm f/4 or f/2.8): Often essential for capturing expansive mountain ranges, sweeping valleys, and dramatic skies.
- Standard Zoom (e.g., 24-70mm f/2.8 or 24-105mm f/4): A versatile walk-around lens for environmental portraits, roadside vistas, and general documentary shots.
- Telephoto Zoom (e.g., 100-400mm or 150-600mm): Highly recommended for wildlife photography. Keeping a safe distance from bears, moose, and nesting birds is paramount, and a powerful telephoto lens allows you to capture intimate details without disturbing the animals.
Filters: The Secret to Managing High Contrast
The bright summer sun reflecting off glaciers and water can easily trick your camera's light meter, leading to underexposed landscapes or blown-out highlights. A circular polarizing filter (CPL) is highly useful; it cuts glare on wet rocks, reduces reflections on glacial lakes, and saturates the deep blues of the sky and the rich greens of the boreal forest. Additionally, a graduated neutral density (GND) filter helps balance the bright sky with the darker foreground shadows, a common challenge addressed in any comprehensive alaska summer photography guide.
Support and Stability
Bringing a tripod is highly recommended. While the Midnight Sun provides ample light, shooting during the late-night twilight hours or capturing long exposures of rushing waterfalls requires absolute stability. A sturdy carbon-fiber tripod is often lightweight enough for hiking but rigid enough to withstand the stiff winds common along Alaska's coastal passes.
Mastering Landscape Photography in the Land of the Midnight Sun
Alaska's landscapes are grander than life, featuring towering peaks, massive glaciers, and pristine fjords. Capturing this scale on a two-dimensional sensor requires deliberate compositional choices and technical precision.
Creating Depth and Scale
Because the mountains are so massive, they can often look deceptively small and flat in a photograph without proper context. To combat this, landscape photographers often look for strong foreground elements to anchor the image. A field of blooming fireweed, a weathered piece of driftwood on a black-sand beach, or a rushing stream can serve as excellent leading lines, drawing the viewer's eye into the frame and emphasizing the immense scale of the background peaks.
Photographing Glaciers and Ice
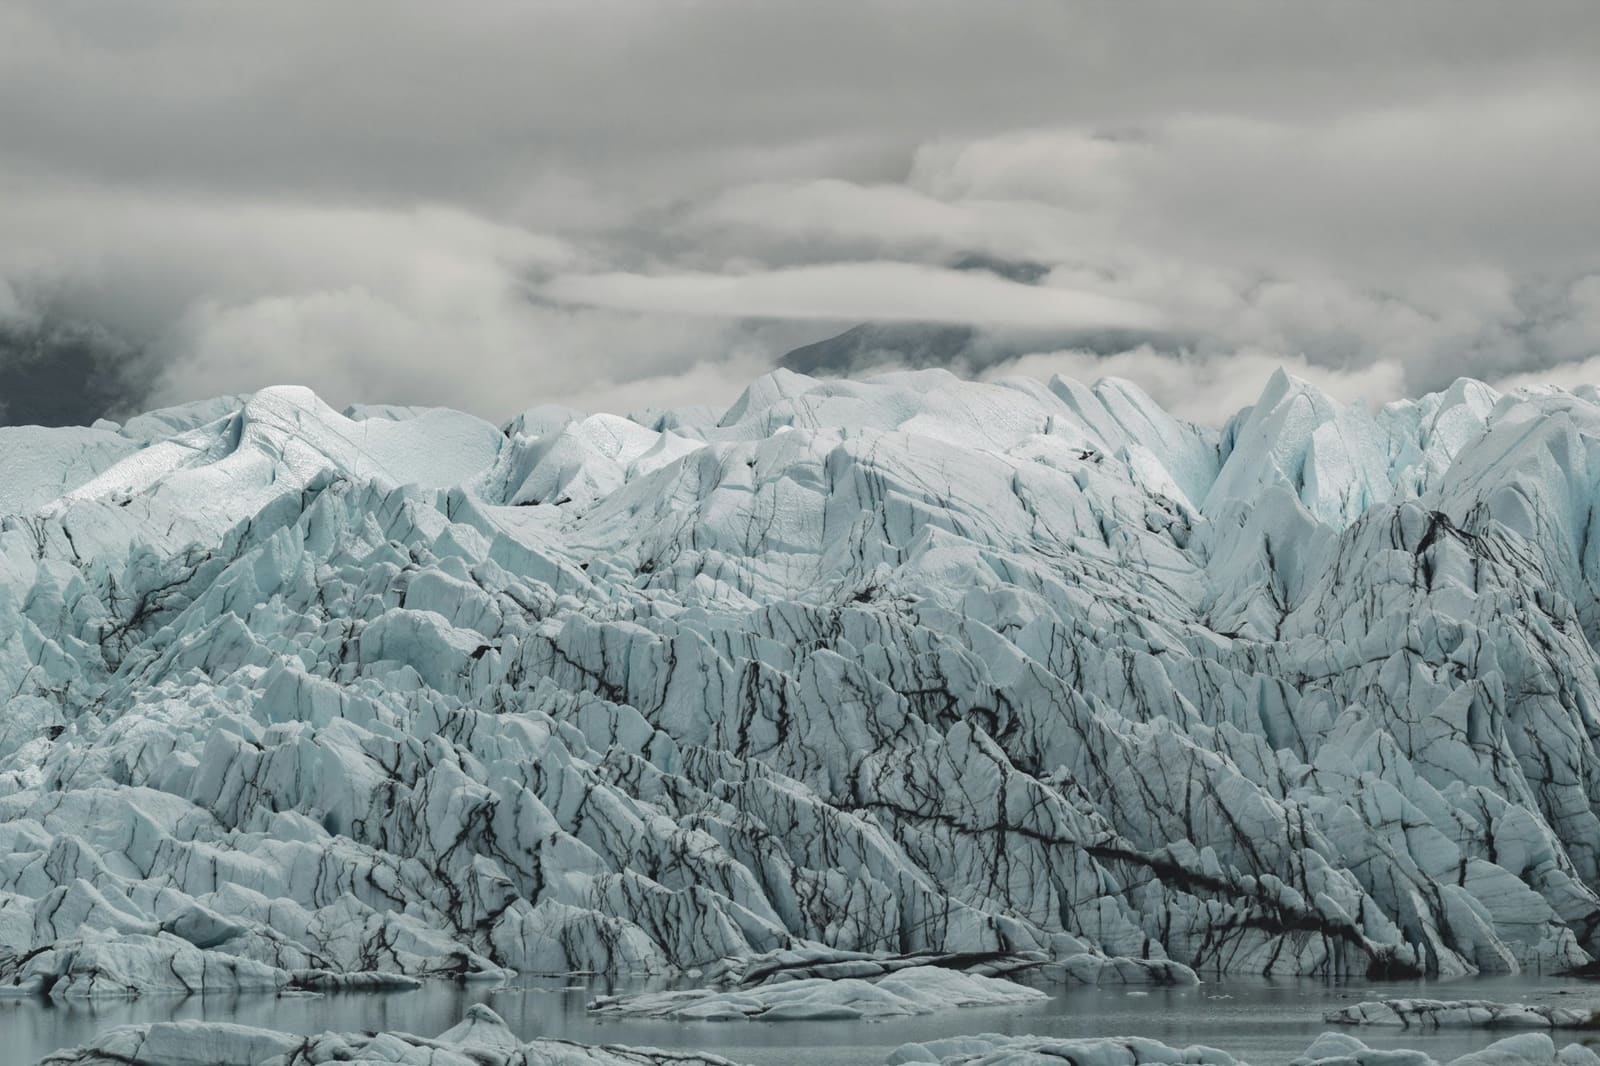
Glaciers are dynamic, living landscapes, but photographing them presents unique challenges. The intense blue color of glacial ice is typically caused by highly compressed ice absorbing red wavelengths of light and reflecting blue. To capture this vivid blue, photographers often avoid shooting in direct, harsh midday sunlight, which can wash out the colors. Instead, overcast days or the soft light of twilight are actually ideal for glacier photography, as they minimize harsh reflections and allow the deep blues to pop. based on scientific data from the U.S. Geological Survey (USGS), Alaska's glaciers are rapidly changing, making these photographic records both beautiful and historically significant. Adjusting your exposure compensation slightly upward (often by +0.7 to +1.3 EV) when shooting large expanses of bright ice or snow can prevent your camera's internal meter from turning the bright white and blue ice into a dull gray. This is a fundamental technique highlighted in this alaska summer photography guide to ensure your exposures remain clean and vibrant.
Wildlife Photography: Capturing Alaska's Fauna Safely and Ethically
From coastal brown bears catching salmon to massive bull moose grazing in marshy meadows, Alaska offers some of the best wildlife photography on earth. However, capturing these moments requires patience, technical skill, and a deep respect for the animals.
Understanding Wildlife Behavior and Light
During the peak of summer, many animals adapt to the heat by resting during the middle of the day and becoming active during the cooler evening and early morning hours. This aligns perfectly with the best photographic light. By utilizing this alaska summer photography guide, you can plan your wildlife excursions for the late evening, when the warm, directional light of the low sun highlights the texture of a bear's fur or the velvet on a moose's antlers.
Camera Settings for Action
Wildlife is unpredictable. To help ensure sharp images, photographers often use a fast shutter speed—such as 1/1000th of a second for stationary animals and 1/2000th of a second or faster for birds in flight or running predators. Setting your camera to continuous autofocus (AI Servo on Canon, AF-C on Nikon/Sony) and using back-button focusing can help track moving subjects smoothly. Keeping your aperture relatively wide (e.g., f/4 or f/5.6) can isolate your subject from busy forest backgrounds, creating a beautiful, soft bokeh that makes the animal stand out.
Safety First: Keeping Your Distance
No photograph is worth risking your safety or the well-being of an animal. When photographing wildlife, always adhere to essential wildlife safety in Alaska guidelines. The Alaska Department of Fish and Game urges photographers to observe animals from a safe distance without changing their behavior, particularly around nesting areas and females with young. Using a telephoto lens is not just a creative choice; it is also a practical safety measure. If an animal stops feeding, changes its direction of travel, or stares directly at you, these are signs that you may be too close. In these situations, it is best to back away slowly and give the animal the space it deserves.
Top Roadside Locations for Midnight Sun Photography
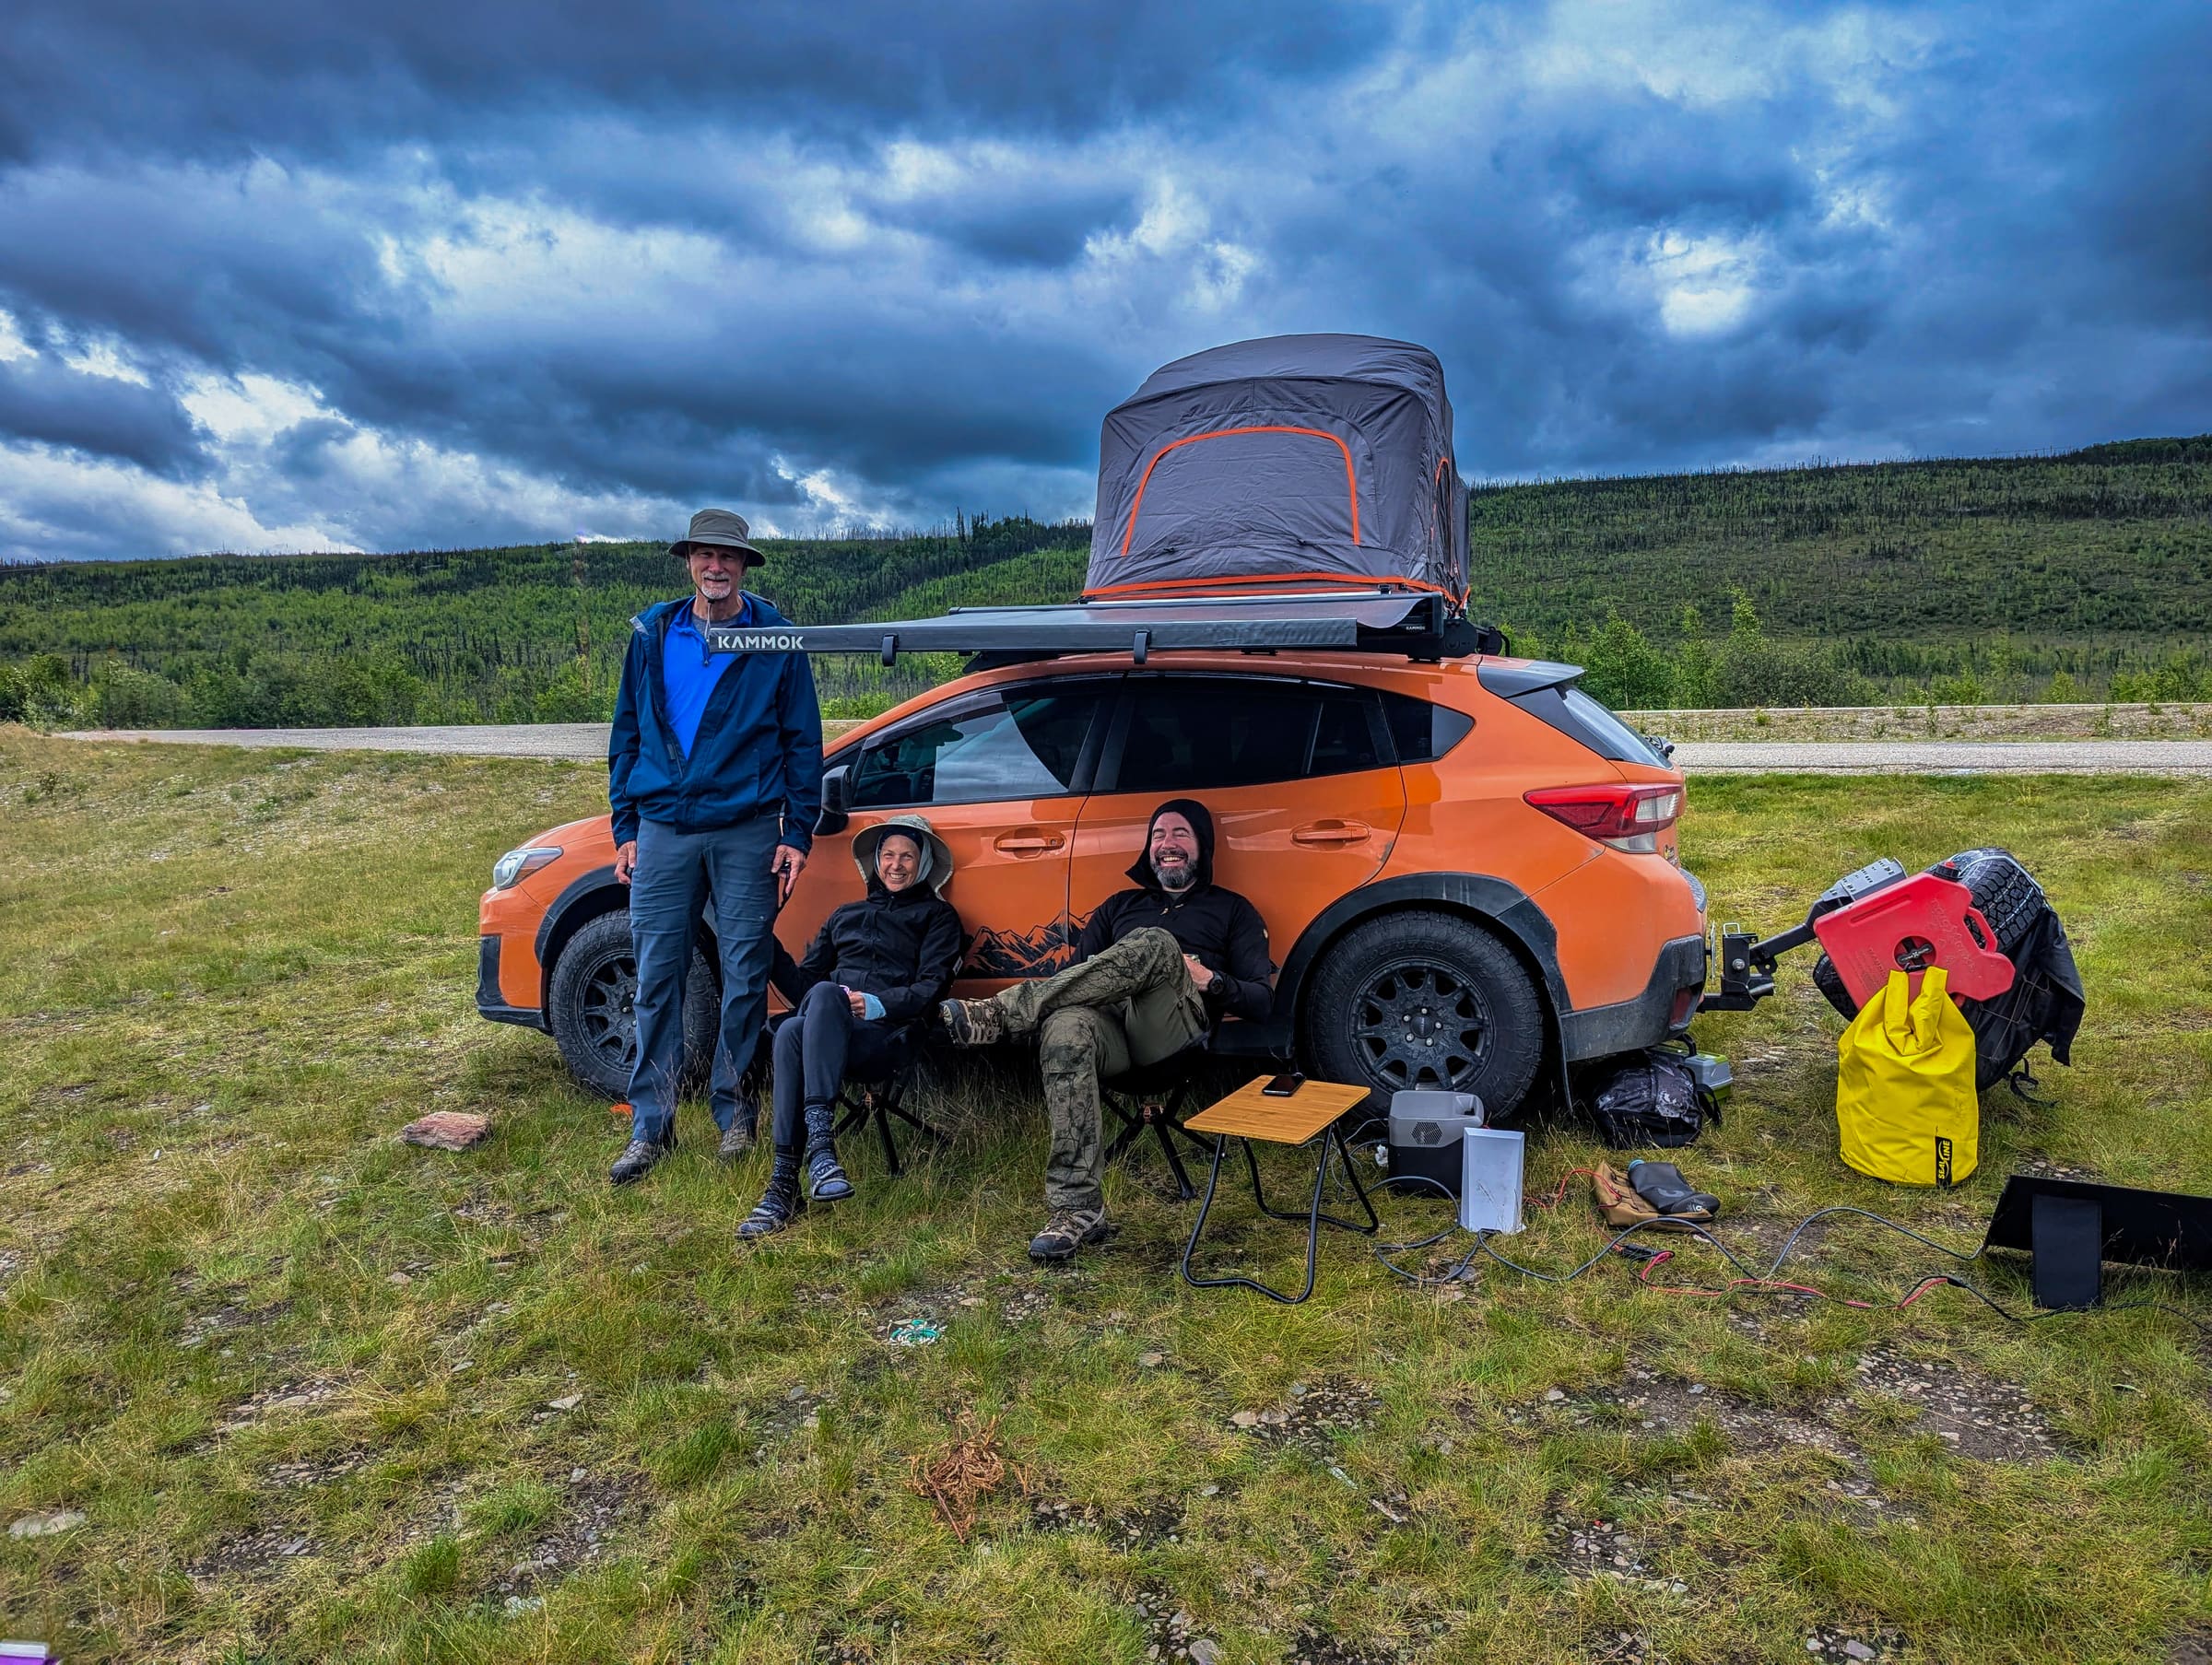
One of the best ways to experience Alaska is by car or RV, allowing you to stop whenever inspiration strikes. This alaska summer photography guide highlights the top scenic routes to include in your itinerary:
The Seward Highway
Connecting Anchorage to Seward, this scenic drive is a photographer's dream. As you navigate the winding road along Turnagain Arm, keep your camera ready for dramatic tidal bores, Dall sheep clinging to steep cliffs, and spectacular sunset reflections over the water. For detailed stop-by-stop recommendations, consult our Seward Highway driving guide. The pullouts along this route offer excellent vantage points for capturing the midnight sun dipping behind the Kenai Mountains.
Denali Highway
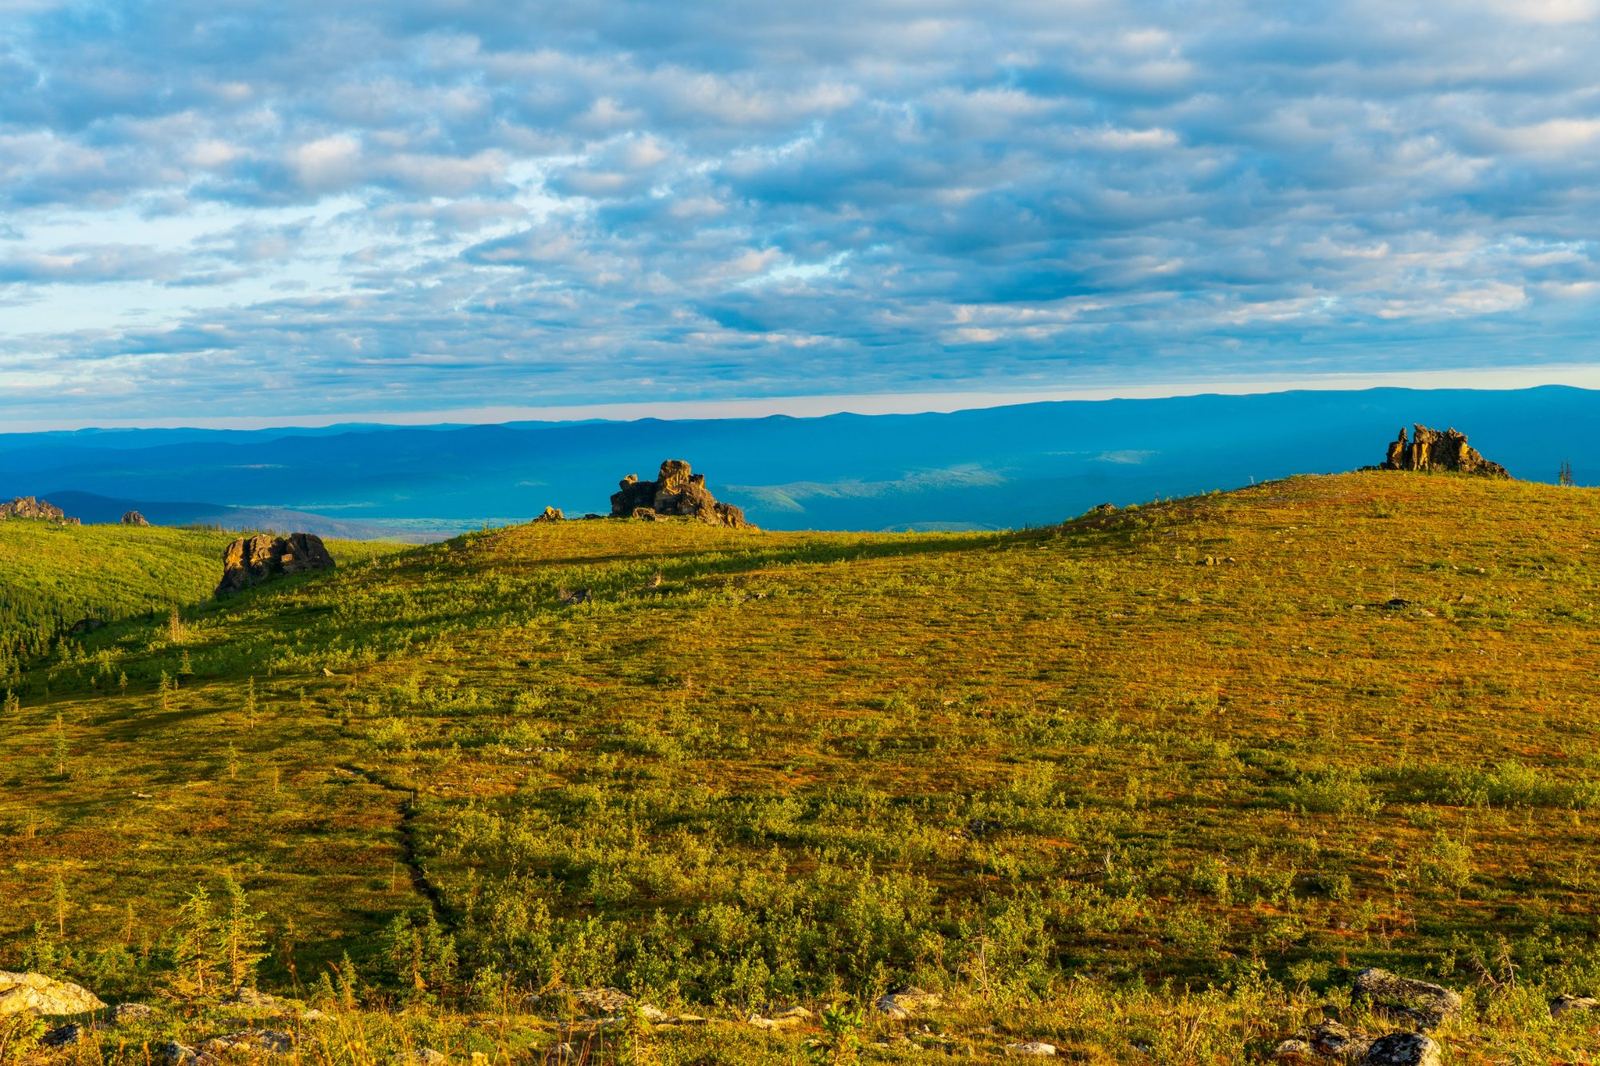
For a more rugged, off-the-beaten-path experience, the Denali Highway offers approximately 135 miles of gravel road surrounded by pristine wilderness. This route offers beautiful panoramic views of the Alaska Range, expansive tundra, and numerous kettle lakes that perfectly mirror the soft pastel colors of the midnight sky. It is often considered a prime location for landscape photographers looking to escape the crowds and capture the raw, untouched beauty of the subarctic.
The Kenai Peninsula and Homer Spit
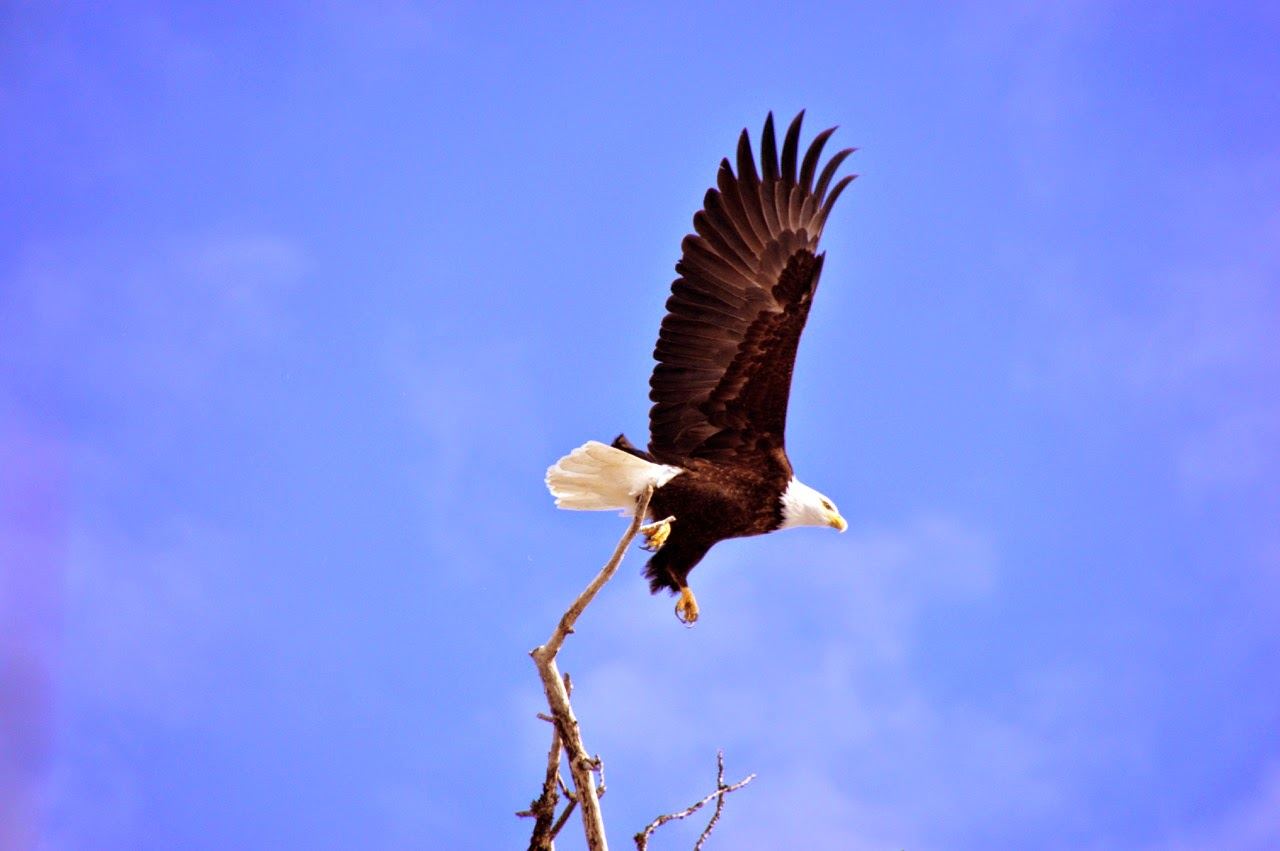
Driving south to Homer brings you to the "End of the Road," where the Homer Spit juts out into Kachemak Bay. Here, you can photograph active fishing harbors, dramatic volcanic peaks across the bay, and bald eagles perched on weathered wooden pilings. The late-night light here is well-known, casting long, dramatic shadows across the gravel beaches and highlighting the active marine life.
Overcoming the Challenges of 24-Hour Daylight
While endless daylight is a blessing for photography, it can take a toll on your body and your workflow. Managing these challenges is a key component of this alaska summer photography guide.
The Sleep Deprivation Trap
When the sun rarely sets, travelers often find that their natural sleep patterns can be disrupted. It is common to look at your watch and realize it is 2:00 AM while you are still happily shooting landscapes. To help avoid fatigue, establishing a consistent sleep schedule can be beneficial. Utilizing high-quality sleep masks and blackout curtains in your lodging or RV can help you rest even when it is bright outside.
Battery and Storage Management
Because you will be shooting for longer hours, you will consume more battery power and fill up memory cards faster than on a typical trip. Cold Alaskan mornings can also drain battery life quickly. It is often beneficial to carry multiple spare batteries, keep them warm in an inside pocket close to your body to preserve charge, and bring a reliable external hard drive or portable SSD to back up your images regularly.
Planning Your Ultimate Photography Road Trip
To capture these incredible scenes, you need a well-structured plan that maximizes your time in the field. Rather than trying to wing it, having a curated route can help place you in the right location for the best light. We specialize in creating customizable Alaska travel itineraries designed specifically for travelers who want to experience the very best of the Last Frontier at their own pace. By following the tips in this alaska summer photography guide and aligning your travel schedule with the optimal photography windows, you will return home with a portfolio of breathtaking images that truly capture the spirit of Alaska.
Frequently Asked Questions
What is the best month for summer photography in Alaska?
June and July offer the peak of the Midnight Sun, providing the longest hours of daylight and lush, green landscapes. However, August is also excellent as the tundra begins to change into vibrant autumn colors, and the nights become dark enough to potentially spot the early Northern Lights late in the month.
Do I need a tripod for midnight sun photography?
Yes, a sturdy tripod is highly recommended. Even though there is daylight, shooting during the late-night civil twilight hours (often between 11:00 PM and 2:00 AM) means the light levels are lower than during midday. A tripod allows you to shoot at lower ISO settings for maximum image quality and enables long-exposure techniques on water and clouds.
How do I protect my camera gear from dust and moisture in Alaska?
Carrying a high-quality rain cover for your camera and lenses is highly recommended to protect against sudden downpours. When shooting near glaciers or driving on gravel roads like the Denali Highway, fine glacial silt and dust can easily penetrate camera seals. Using a blower brush to clean your sensor and lenses, and avoiding lens changes in windy, dusty conditions, can help protect your equipment from damage.
What camera settings are best for capturing the midnight sun?
When shooting directly into the low sun, using a narrow aperture (such as f/11 or f/16) can help create a starburst effect. Keeping your ISO low (such as ISO 100 or 200) helps minimize noise in the shadow areas, and using exposure bracketing can help capture the full dynamic range of the bright sky and dark landscapes.
Ready to embark on your own photographic journey through the Last Frontier? Let us take the hassle out of planning. Explore our professionally designed itineraries or contact us today to customize your perfect Alaskan road trip, ensuring you are in the perfect position to capture every magical moment of the Midnight Sun.
See a real Alaska itinerary before you spend a dollar
A real 3-day plan with driving times, lodging picks, and a daylight chart — free, in your inbox.
One email. No spam. Unsubscribe anytime. Or view it right now — no email needed ↗
Ready for the full plan? Get your custom itinerary — from $197 · 5-day delivery →