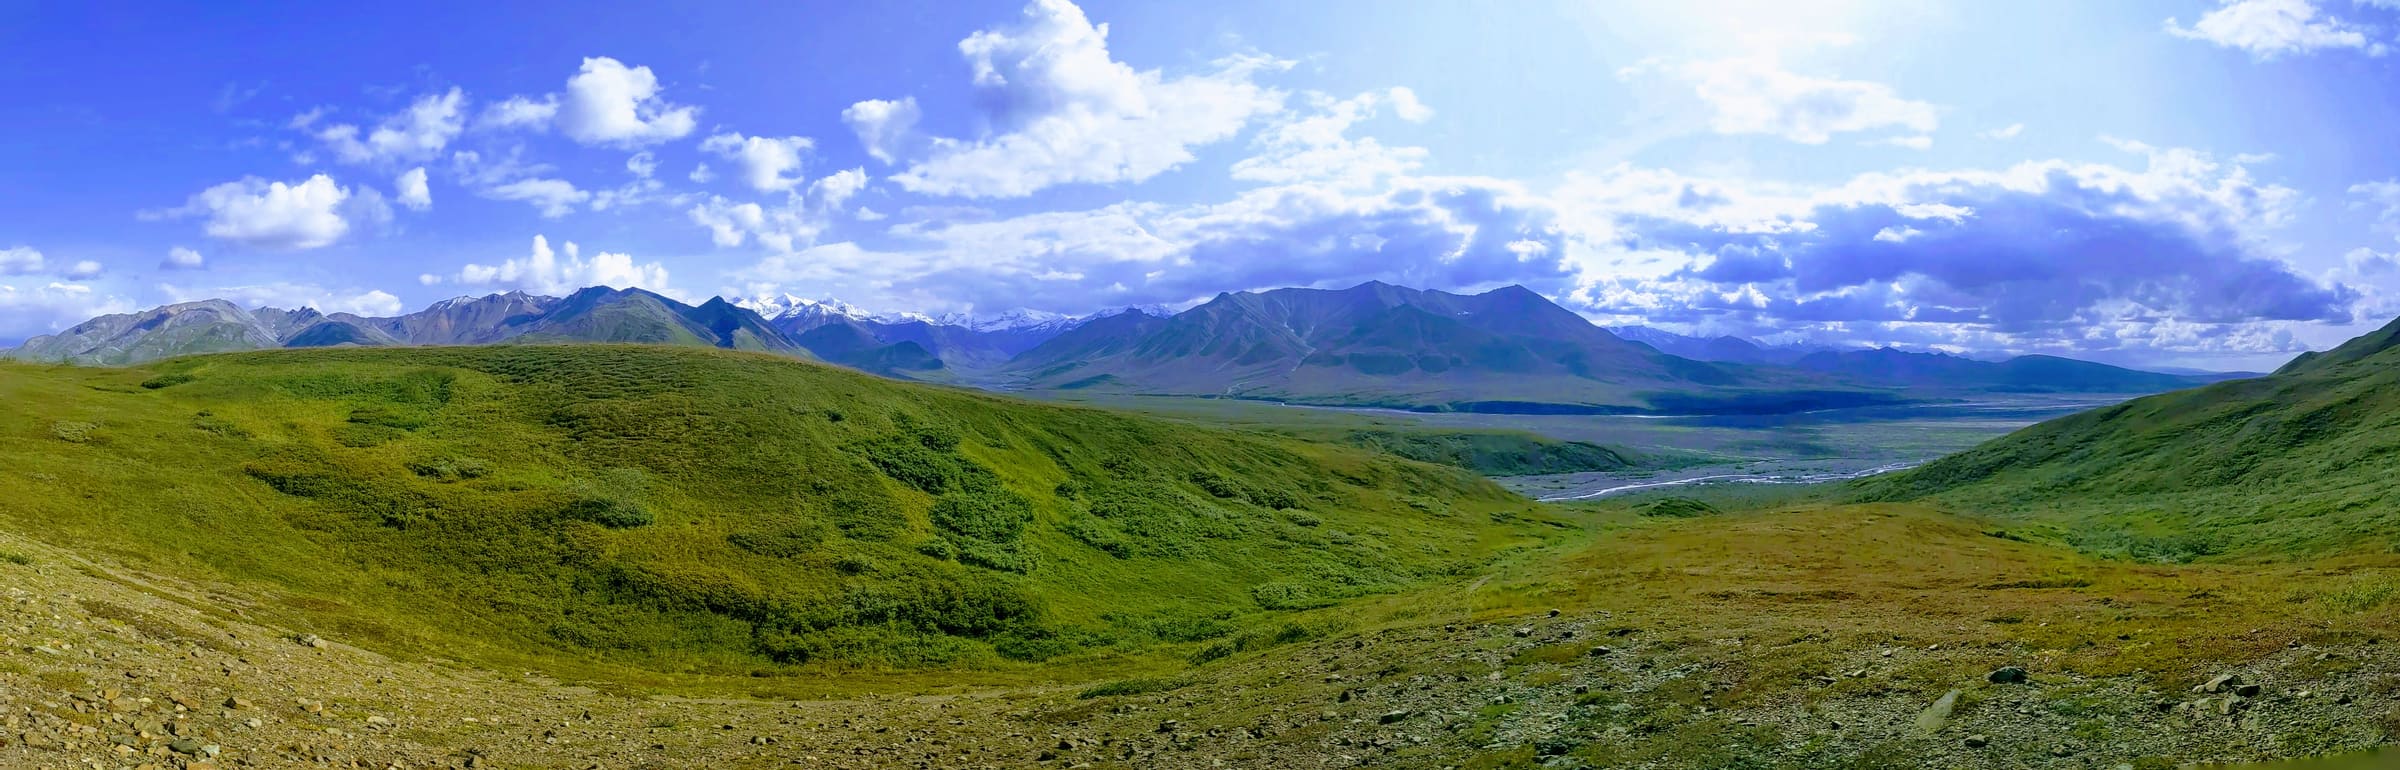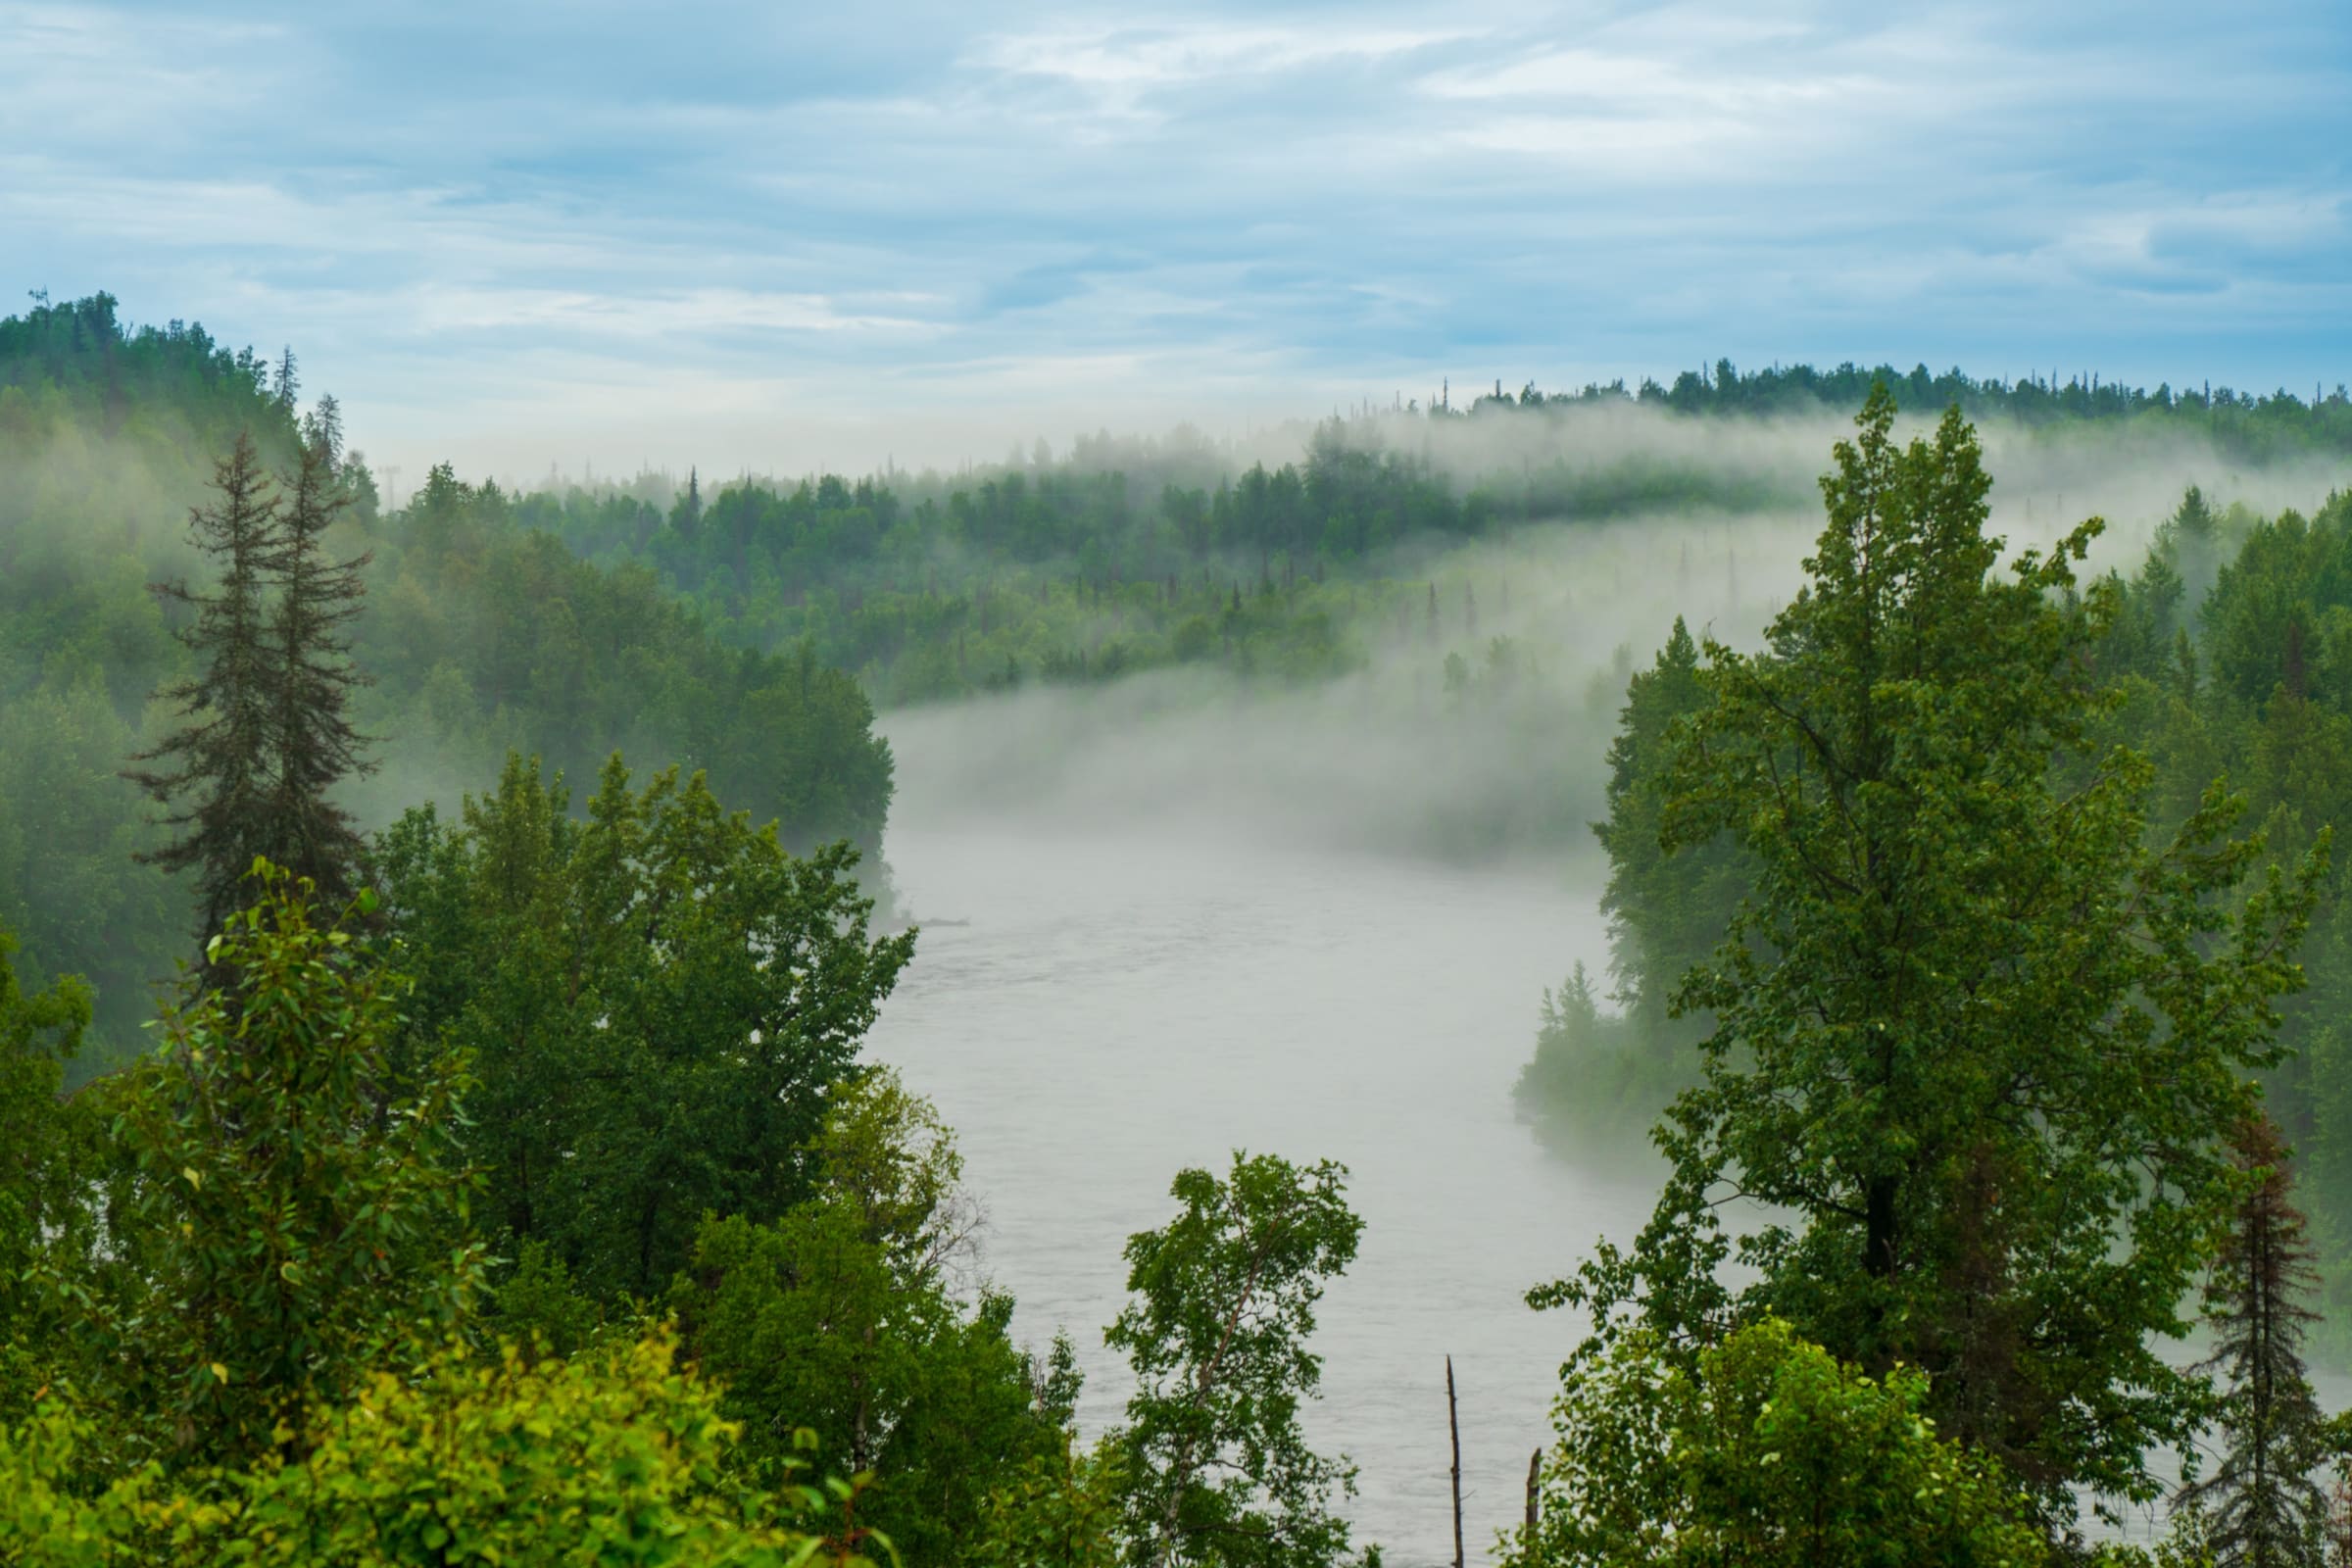
The Dalton Highway, affectionately known as the "Haul Road," is an iconic Alaskan adventure, a rugged artery stretching deep into the Arctic. For photographers, it promises unparalleled landscapes, from vast tundra to the majestic Brooks Range, and the chance to capture the raw beauty of the Last Frontier. However, this epic journey comes with a notorious challenge: dust. Not just any dust, but a fine, talcum-like grit that permeates every crevice of your vehicle, your clothing, and, most critically, your precious camera gear. Without proper Dalton Highway camera dust protection, your once-pristine lenses can become hazy, your camera sensors speckled, and your electronic ports compromised, turning your dream shots into a dusty nightmare.
As experts in crafting unforgettable Alaska road trip itineraries, we at Alaska Road Trip understand the unique demands of this environment. We've seen firsthand how unprepared travelers struggle with the pervasive dust, often leading to costly repairs or missed photographic opportunities. This comprehensive guide is designed to equip you with the knowledge and strategies needed to safeguard your equipment, ensuring your focus remains on capturing breathtaking images, not battling grit. From pre-trip preparations to on-the-road tactics and field cleaning essentials, we’ll cover everything you need to know to protect your investment and bring home stunning, dust-free memories from your 2026 Alaskan adventure.
Understanding the Dalton Highway's Unique Dust Challenge
The Dalton Highway is approximately 414 miles long, with significant portions unpaved, consisting of gravel, dirt, and compacted earth. This isn't your average gravel road; the material used for its construction and maintenance, combined with heavy truck traffic, creates an incredibly fine, silica-rich dust. When dry, this dust billows into thick clouds, reducing visibility and coating everything in its path. It's so fine that it behaves almost like a liquid, finding its way into seemingly sealed containers and the smallest gaps in your vehicle and gear. Source: Alaska.org.
The impact on camera gear is multifaceted and severe:
- Lenses: Dust can settle on the front and rear elements, causing soft focus, reduced contrast, and flare. More critically, it can work its way into the internal focusing and zoom mechanisms, leading to grinding, stiffness, or complete failure.
- Camera Bodies: Fine particles can infiltrate the body through button seams, dial gaps, and especially the lens mount. Once inside, it can contaminate the mirror box (DSLRs), shutter mechanism, and even the sensor itself.
- Sensors: The most vulnerable component. Every time you change a lens, the exposed sensor acts like a magnet for airborne dust. Even with weather-sealed bodies, the microscopic particles can find a way in, resulting in unsightly spots on your images that require tedious post-processing or, worse, professional cleaning.
- Electronic Ports & Batteries: USB, HDMI, and battery compartments are prime entry points for dust, potentially leading to connection issues, short circuits, or battery contact problems.
Standard camera bags, even those marketed as weather-resistant, often fail against the Dalton's dust. Their zippers, seams, and fabric weaves are typically not designed to withstand such an extreme, pervasive particulate challenge, often lacking the specialized sealing found in truly dustproof solutions. A padded nylon bag might protect against bumps, but it offers little defense against the talcum-like dust that will inevitably find its way inside.
Pre-Trip Preparation: Your First Line of Defense
Effective dust protection begins long before you hit the Dalton. Strategic gear selection and meticulous preparation are paramount.
Gear Selection and Sealing
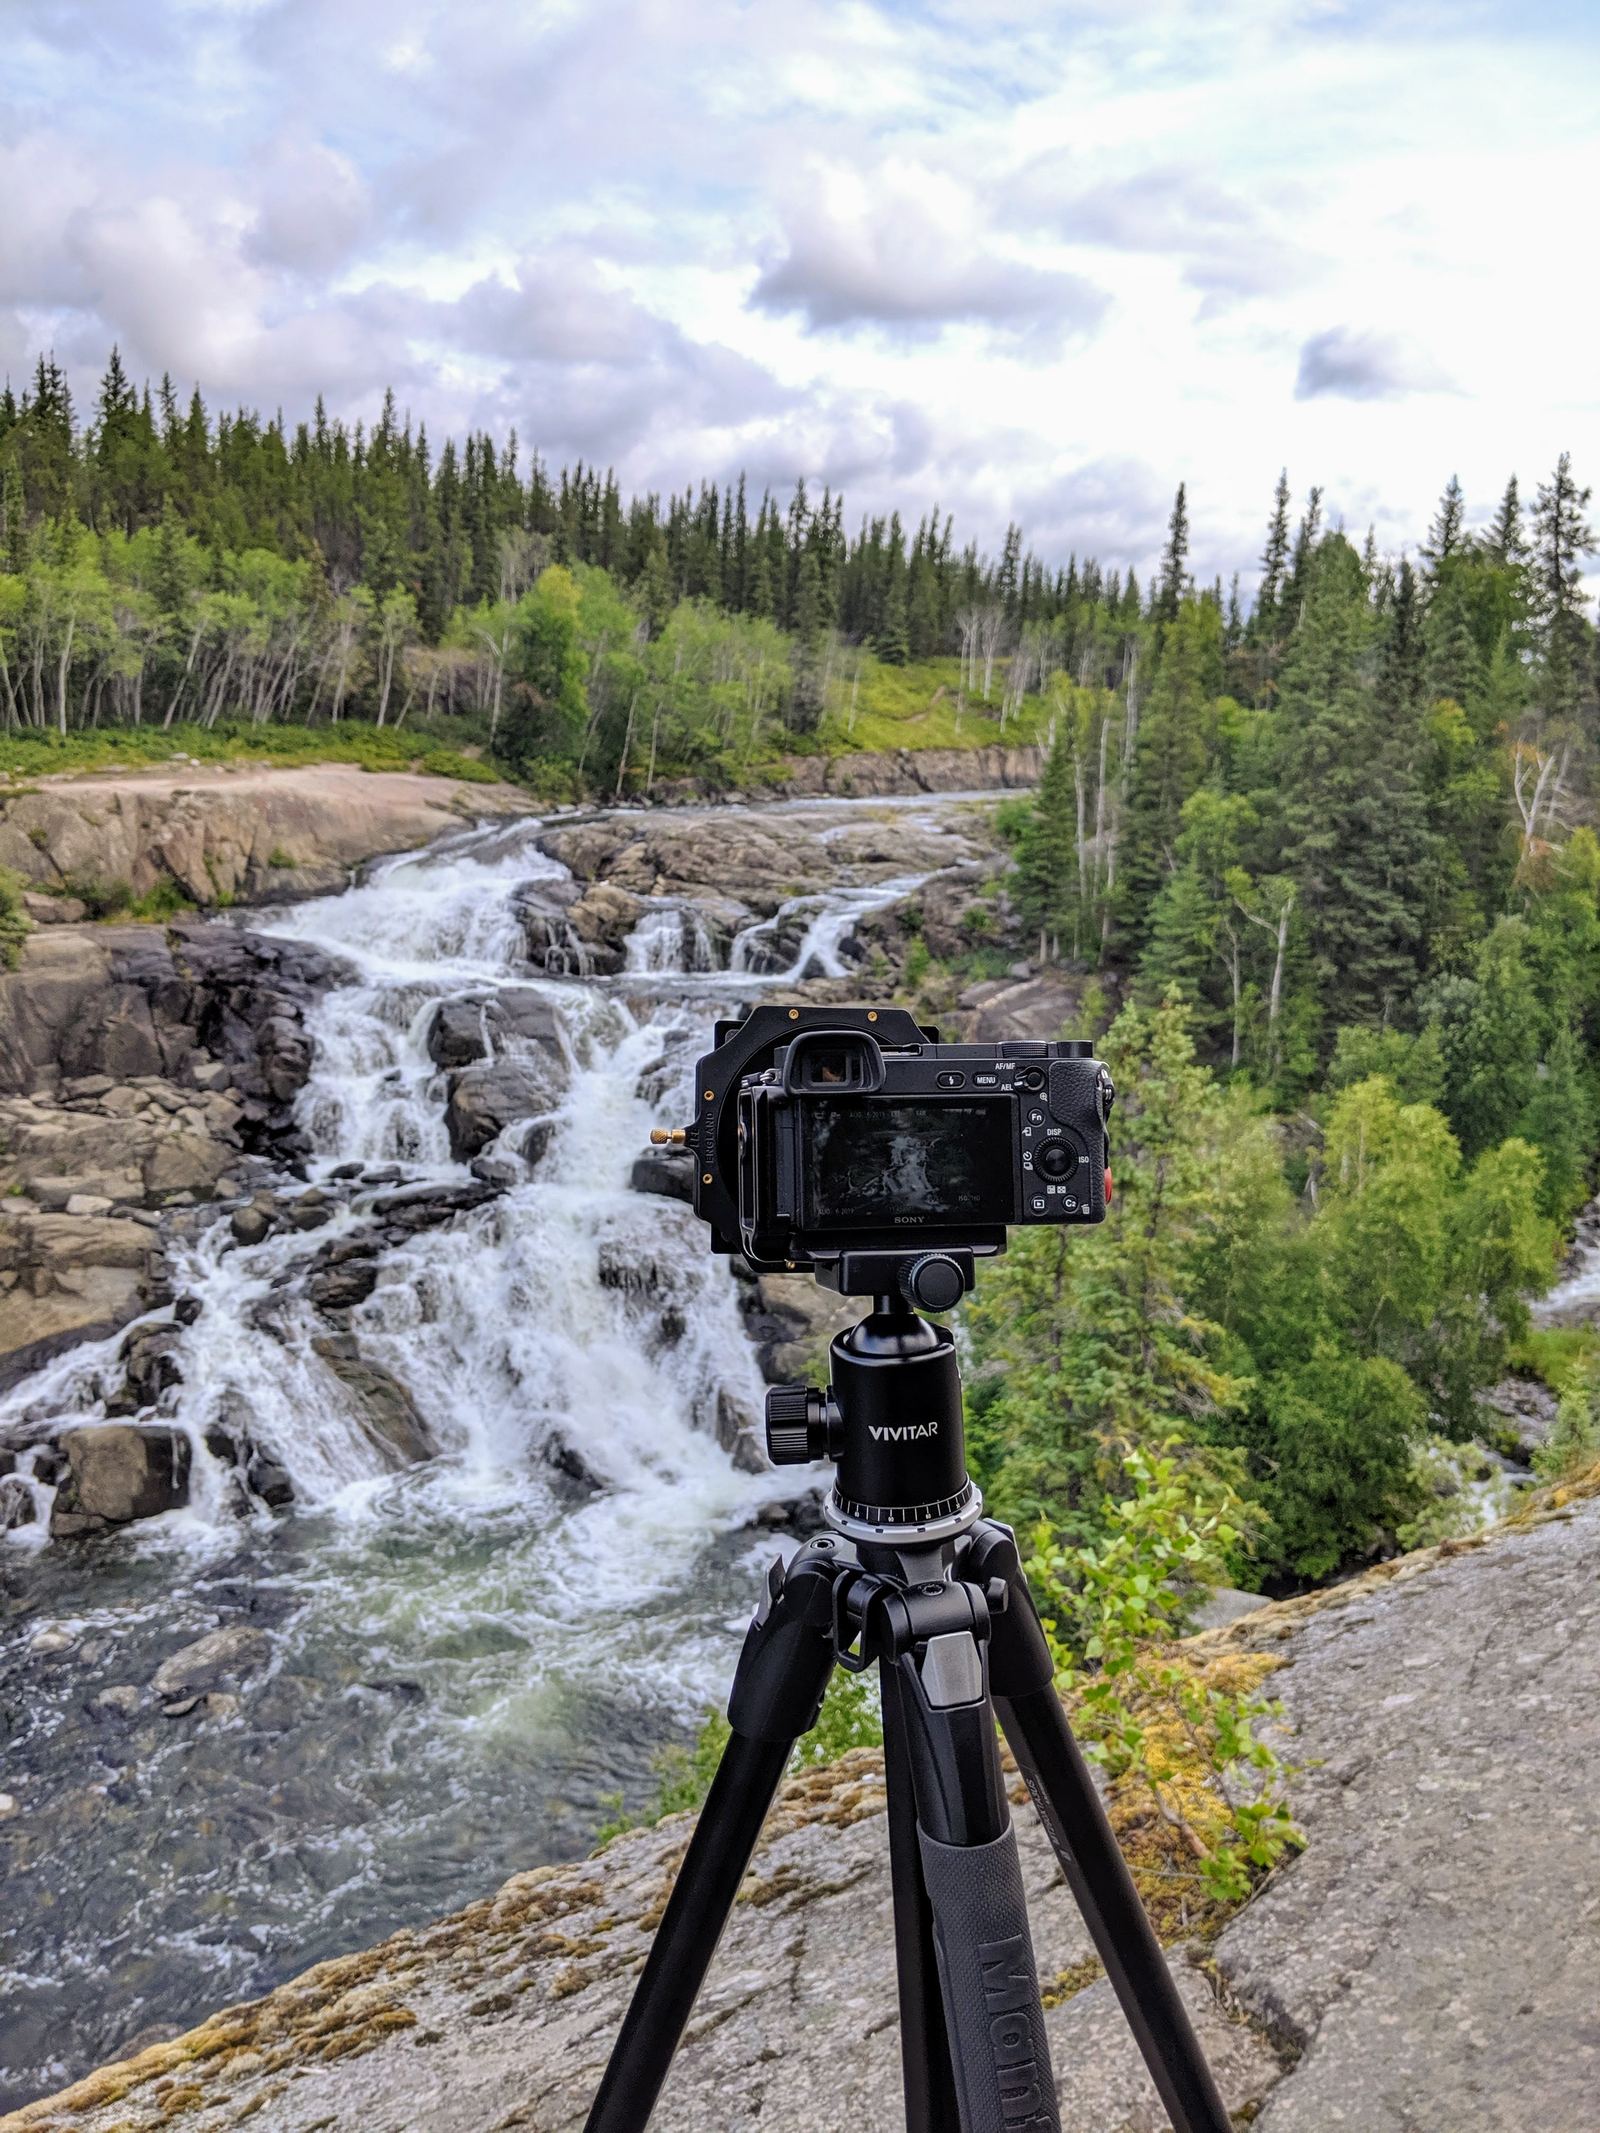
- Weather-Sealed Bodies and Lenses: Prioritize cameras and lenses with robust weather sealing. While no system is fully dustproof, these offer significantly better resistance. Look for cameras with gaskets around buttons, dials, and port covers. Prime lenses often have fewer moving parts than zooms, potentially reducing entry points for dust.
- Protective Filters: Consider using a high-quality UV or clear protective filter on the front of your lenses. This acts as a sacrificial layer, protecting the expensive front element from scratches and dust abrasion. It's far cheaper to replace a filter than a lens element.
- Lens Caps and Body Caps: These should be on your lenses and camera body (when no lens is attached) at all times when not actively shooting. Ensure they fit snugly.
- Minimalist Approach: Consider bringing fewer lenses. Each lens change is an opportunity for dust to enter your camera. If possible, use a versatile zoom or a single prime lens for extended periods.
Superior Storage Solutions
Forget your everyday camera backpack for the Dalton. You need serious protection:
- Hard Cases with O-Rings: Invest in Pelican-style hard cases or similar rugged, airtight containers. These cases feature rubber O-rings that create a waterproof and dustproof seal when latched. They are indispensable for storing your primary camera body, lenses, and sensitive electronics like laptops and external hard drives. Ensure the foam inserts are cut to fit your gear snugly, preventing movement and abrasion.
- Dry Bags: For less sensitive items or as an additional layer of protection within a hard case, heavy-duty roll-top dry bags are excellent. They are flexible, relatively inexpensive, and provide a good barrier against dust and moisture.
- Double-Bagging Strategy: For ultimate protection, consider placing your camera gear (perhaps in a smaller padded insert) inside a dry bag, and then placing that dry bag inside a hard case. This multi-layered approach creates formidable barriers against the fine Dalton dust.
- Silica Gel Packs: Place several large silica gel packs inside your sealed cases and dry bags to absorb any residual moisture, which can combine with dust to create a sticky, abrasive paste.
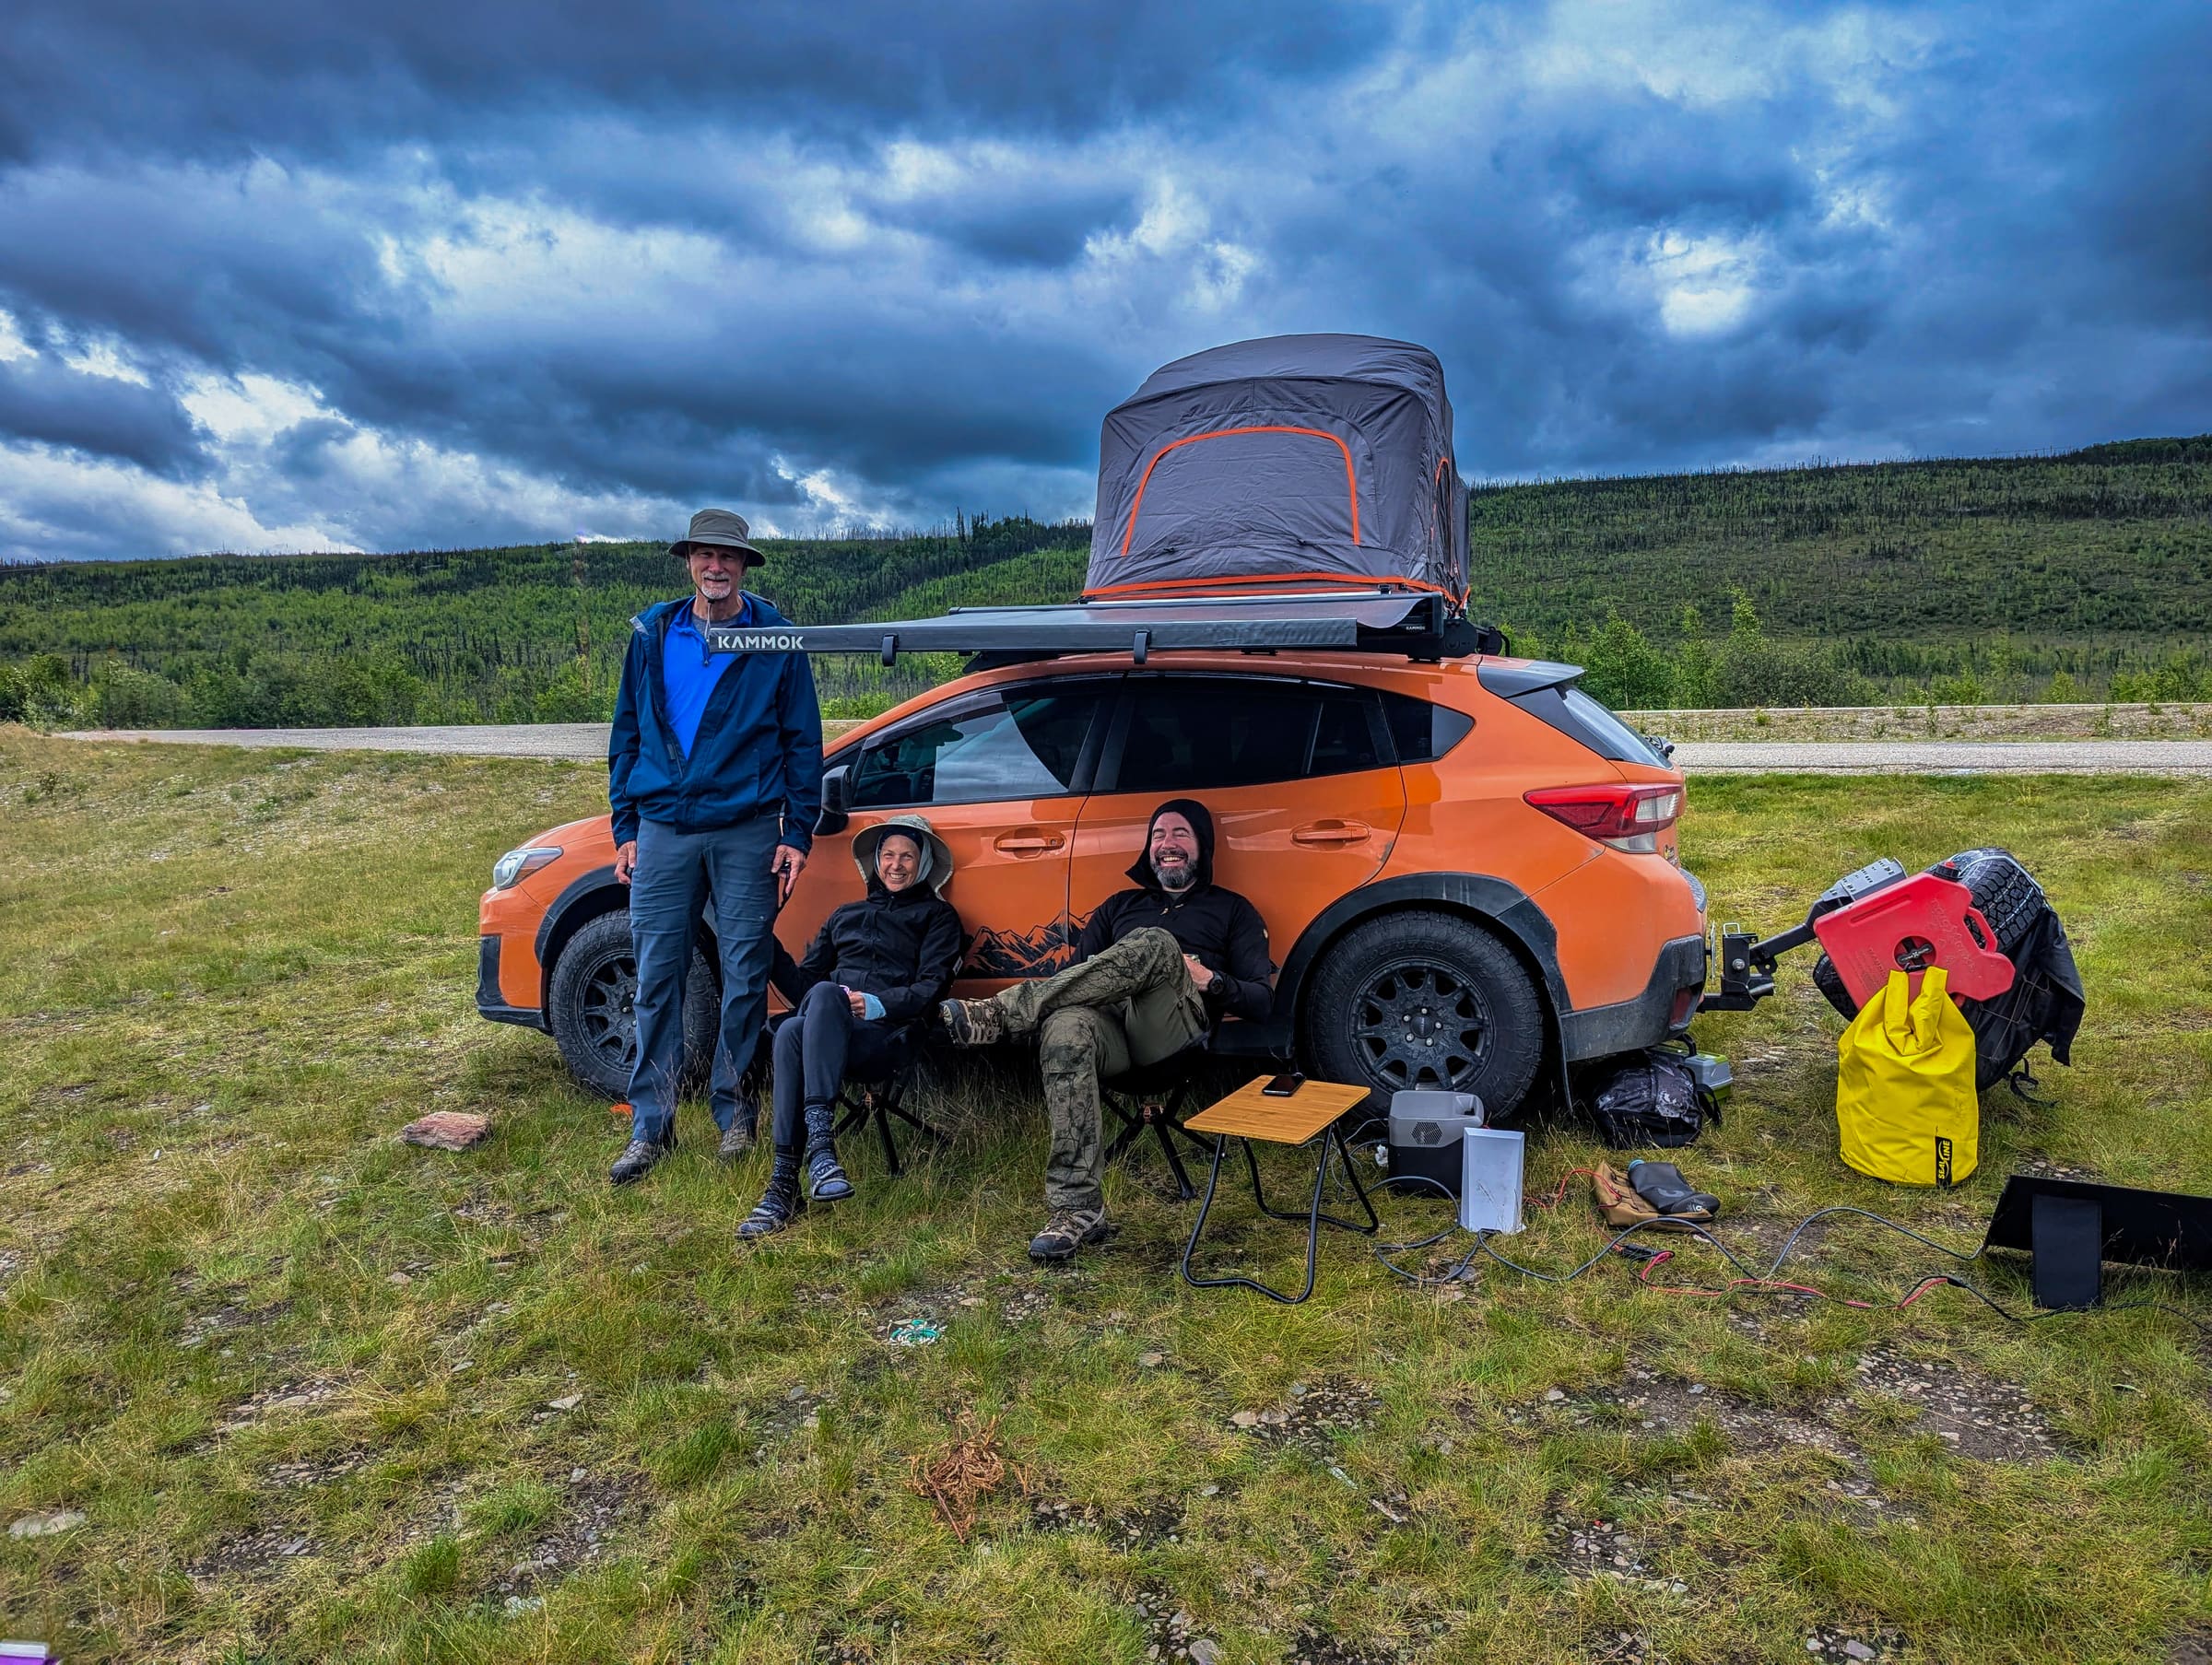
Vehicle Interior Filtration Hacks
Your vehicle is your mobile base camp, and keeping its interior as dust-free as possible is crucial. This is especially important if you're considering a 4WD Alaska road trip, where you might encounter even more challenging conditions.
- Cabin Air Filter Upgrade: If your vehicle allows, upgrade to a high-efficiency particulate air (HEPA) cabin air filter. These filters are designed to capture much finer particles than standard filters. Check your vehicle's manual for compatibility and installation instructions.
- DIY Vent Covers: For an extra layer of protection, you can temporarily cover your vehicle's air vents with fine mesh fabric or even cut-to-size HEPA filter material, secured with painter's tape. This helps filter air entering the cabin even when the AC is on recirculate.
- Plastic Sheeting/Tarps: Consider using large plastic sheets or tarps to create a dedicated "clean zone" in the back of your vehicle, especially if you're driving an SUV or truck with an open cargo area. Seal the edges with tape to minimize dust ingress.
- Keep Windows Closed: This might seem obvious, but it's worth reiterating. Resist the urge to roll down windows, even for a moment, when driving on dusty sections. Rely on your vehicle's air conditioning system, set to recirculate, to maintain comfortable temperatures.
On the Road: Active Protection Strategies
Even with the best pre-trip preparation, the Dalton Highway demands active vigilance. Here's how to manage dust while you're out there capturing those incredible shots.
Strategic In-Vehicle Storage and Access
Your vehicle's interior is your primary dust-free sanctuary. Treat it as such.
- Dedicated Dust-Free Zone: Designate a specific area in your vehicle for camera gear that is as sealed off as possible. This might be a hard case securely strapped down, or a large, robust plastic storage bin with a gasketed lid.
- Minimize Opening Cases: Only open your sealed camera cases or dry bags when absolutely necessary, and ideally, when the vehicle is stationary and the dust has settled. If possible, do it inside the vehicle with windows closed and the fan on recirculate.
- Quick Access vs. Ultimate Protection: There's a constant tension between having your camera ready for a spontaneous shot and keeping it perfectly protected. For quick shots, you might keep one camera body with a versatile lens (e.g., a 24-70mm or 24-105mm) in a smaller, easily accessible dry bag or a weather-sealed camera pouch within your vehicle's cabin. This allows for rapid deployment without exposing your entire kit. For longer shoots, retrieve gear from your hard cases.
During Shooting: Minimizing Exposure
- Minimize Lens Changes: As mentioned, every lens change is a risk. Plan your shots to reduce the need for frequent lens swaps. If you must change lenses, do it inside your vehicle, with the engine off (to prevent vibrations from stirring dust), windows closed, and ideally, with the camera body facing downwards to reduce the chance of dust settling on the sensor.
- Use a Camera Rain/Dust Cover: Even on dry days, a camera rain cover can serve as an excellent dust cover. These are often inexpensive and can be quickly deployed to shield your camera and lens while you're shooting in dusty conditions.
- Position Yourself Upwind: When possible, pay attention to wind direction. Try to position yourself so that the wind carries dust away from you and your gear, not towards it.
- Avoid Setting Gear on the Ground: Avoid placing your camera bag or loose gear directly on the ground, especially on the shoulder of the Dalton. The dust is everywhere. Use a clean mat, a vehicle seat, or keep it in your hands.
Field Cleaning & Maintenance: Keeping Optical Clarity
Despite your best efforts, dust will happen. Knowing how to safely clean your gear in the field is critical. However, remember that field cleaning should be a last resort for sensitive components like the sensor.
External Cleaning Essentials
It's often recommended to clean external surfaces before attempting any internal cleaning.
- Rocket Blower: An absolute must-have. Use a powerful hand-held air blower (like a Giottos Rocket Blower) to dislodge loose dust from your lens elements, camera body, and crevices. Avoid using canned air, as it can contain propellants that may leave residue or freeze components.
- Soft Lens Brush: A retractable, fine-bristle lens brush can gently sweep away stubborn dust particles from lens elements. It's advisable to use the blower first to remove as much loose grit as possible before brushing.
- Microfiber Cloths: Carry several high-quality, clean microfiber cloths specifically for lenses. Keep them individually sealed in small plastic bags to prevent them from collecting dust themselves. Use them only after blowing and brushing to gently wipe away smudges or remaining dust.
- Lens Cleaning Solution: A small bottle of approved lens cleaning solution can be used with a microfiber cloth for more persistent smudges or oily residue. Apply the solution to the cloth, not directly to the lens.
Crucial Rule: rarely wipe dry dust with a cloth without first blowing it off. Rubbing dry grit across a lens or camera body is a sure way to scratch it.
Sensor Cleaning (Safe Field Practices)
Sensor cleaning is the most delicate operation and should only be performed when absolutely necessary (i.e., you see persistent spots on your images even after external cleaning) and with extreme caution. Practice this at home before your trip.
- Individually Sealed Sensor Swabs: These are pre-moistened, lint-free swabs designed for single use. Ensure you have the correct size for your camera's sensor (APS-C, Full Frame, etc.).
- Sensor Cleaning Solution: Often comes with the swabs, or can be purchased separately. Ensure it's specifically designed for camera sensors.
- Sensor Scope (Optional but Recommended): A small magnifying device with an LED light that allows you to inspect your sensor for dust spots before and after cleaning. This helps you determine if cleaning is truly needed and if it was successful.
- Steps for Field Sensor Cleaning: Find the cleanest, least dusty environment possible (e.g., inside your vehicle with windows closed, engine off). Ensure your camera battery is fully charged. Set your camera to sensor cleaning mode (this locks up the mirror on DSLRs and opens the shutter on mirrorless cameras). Use a Rocket Blower to give the sensor a few puffs of air. Carefully unwrap a fresh, individually sealed sensor swab. With light, even pressure, make one pass across the sensor in one direction. Flip the swab to the clean side and make a second pass in the opposite direction. Dispose of the swab immediately. rarely reuse a swab. Turn off the camera, reattach a lens, and take a test shot of a plain, bright surface (like the sky or a white wall) at a narrow aperture (f/16 or f/22) to check for remaining dust.
Caveats: Sensor cleaning carries a risk of damage if not done correctly. If you're uncomfortable, or if spots persist, seek professional cleaning after your trip. For a detailed guide on safe sensor cleaning, consider consulting resources such as B&H Photo Video's comprehensive guide on cleaning your camera sensor. Source: Dot Alaska source.
Battery and Port Protection
- Tape Over Ports: Use high-quality electrical tape or painter's tape to seal off any unused ports (USB, HDMI, microphone jacks) on your camera body. This prevents dust from entering these vulnerable areas.
- often ensure your battery compartment door is securely closed. Carry spare batteries in sealed plastic bags.
- Clean Contacts: If you experience issues, use a clean, dry microfiber cloth to gently wipe battery contacts or memory card contacts. Avoid abrasive materials.
Post-Trip Deep Clean and Professional Services
Once your epic journey on the Dalton Highway concludes, a thorough deep clean of all your gear is essential. Even with the best precautions, some dust will inevitably find its way in.
- DIY Deep Clean: Carefully remove all lenses and accessories. Use your Rocket Blower extensively on camera bodies, lens mounts, and all crevices. Wipe down all surfaces with a slightly damp (with water or lens cleaner) microfiber cloth, then dry. Clean all lens elements meticulously.
- Professional Cleaning: For internal dust, persistent sensor spots, or any signs of mechanical issues, consider professional cleaning and servicing. A reputable camera repair shop can safely clean sensors, check internal mechanisms, and ensure your gear is ready for its next adventure.
Trade-offs and Realities of Dalton Highway Photography
Navigating the Dalton Highway with camera gear involves a constant balancing act:
- Convenience vs. Protection: The more protected your gear is, the less convenient it is to access. You'll need to decide on your personal threshold. For spontaneous wildlife shots, having a less-protected but quickly accessible setup might be worth the risk, while your primary kit remains in a hard case.
- Cost of Gear vs. Cost of Protection: High-end gear demands high-end protection. Don't skimp on quality cases, filters, and cleaning supplies. The cost of prevention is far less than the cost of repair or replacement.
- Accepting Some Dust: Despite all efforts, some microscopic dust might still appear. Learn basic spot removal in post-processing software. For minor, non-critical dust, it might be more practical to accept it than to constantly risk sensor cleaning in challenging conditions.
The Dalton Highway is an experience unlike any other, offering photographic opportunities that are truly once-in-a-lifetime. The dust is part of its rugged charm, but it doesn't have to ruin your photos or your gear. By understanding the challenge and implementing these robust Alaska itinerary planning services, you can confidently protect your valuable camera gear and focus on creating stunning images that will last a lifetime. Ready to plan your ultimate Alaskan photography expedition, complete with expert advice on navigating unique challenges like the Dalton's dust? Plan your trip with Alaska Road Trip today, and let us help you craft an itinerary that ensures both adventure and pristine photographs.
For more insights into preparing for your Alaskan adventure, including what to pack, check out our Alaska road trip packing list. The Alaska Department of Transportation & Public Facilities provides current road conditions and advisories, which are essential to check before embarking on your Dalton Highway journey. Additionally, understanding the nuances of camera weather sealing, as detailed by experts at B&H Photo Video's guide to weather sealing, can further inform your gear choices.
Frequently Asked Questions
Is the Dalton Highway dust really that bad?
Yes, the dust on the unpaved sections of the Dalton Highway is notoriously fine, pervasive, and can easily infiltrate camera gear, vehicles, and even sealed containers. It's often described as talcum-like and can create significant visibility issues and equipment damage if not properly managed.
Can I just use my regular camera bag for the Dalton Highway?
We strongly advise against relying solely on a regular camera bag. Most standard bags, even padded ones, are not designed to be dustproof against the fine grit of the Dalton. You'll need robust, airtight solutions like hard cases with O-rings, dry bags, or a combination of both to adequately protect your sensitive equipment. Source: Shotkit source.
How often should I clean my camera sensor on the Dalton Highway?
Sensor cleaning should be done as infrequently as possible and only when absolutely necessary, meaning you see persistent dust spots on your images even after external cleaning. Each sensor cleaning carries a small risk of damage. Focus on preventing dust from reaching the sensor in the first place, and if cleaning is needed, do it in the cleanest environment possible with proper tools and technique.
What's the single most important tip for Dalton Highway camera dust protection?
The single most important tip is to prioritize prevention through robust, sealed storage. Keep your camera gear in airtight hard cases or dry bags whenever it's not actively in use, and minimize exposure to the dusty environment as much as possible.
Will my camera warranty cover dust damage from the Dalton Highway?
Most standard camera warranties do not cover damage caused by environmental factors like dust or sand ingress, especially if it's determined that proper care and protection measures were not taken. often check your specific warranty terms. Investing in proper protection is your best insurance.
Plan Your Dust-Proof Alaska Photography Adventure
The Dalton Highway offers an unparalleled photographic journey, but it demands respect and meticulous preparation. Don't let the infamous dust deter you from capturing the raw, untamed beauty of Alaska's Arctic. By implementing the strategies outlined in this guide, you can confidently protect your valuable camera gear and focus on creating stunning images that will last a lifetime. Ready to plan your ultimate Alaskan photography expedition, complete with expert advice on navigating unique challenges like the Dalton's dust? Plan your trip with Alaska Road Trip today, and let us help you craft an itinerary that ensures both adventure and pristine photographs.
See a real Alaska itinerary before you spend a dollar
A real 3-day plan with driving times, lodging picks, and a daylight chart — free, in your inbox.
One email. No spam. Unsubscribe anytime. Or view it right now — no email needed ↗
Ready for the full plan? Get your custom itinerary — $197 · 5-day delivery →